I grew up in West Africa in the 1960–70s traveling regularly from Timbuctu on the edge of the Sahara Desert to boarding school in the Côte d’Ivoire in our family ’67, and later in ’71, 109” 5-doors. [See Spring 2019 issue -ed.]
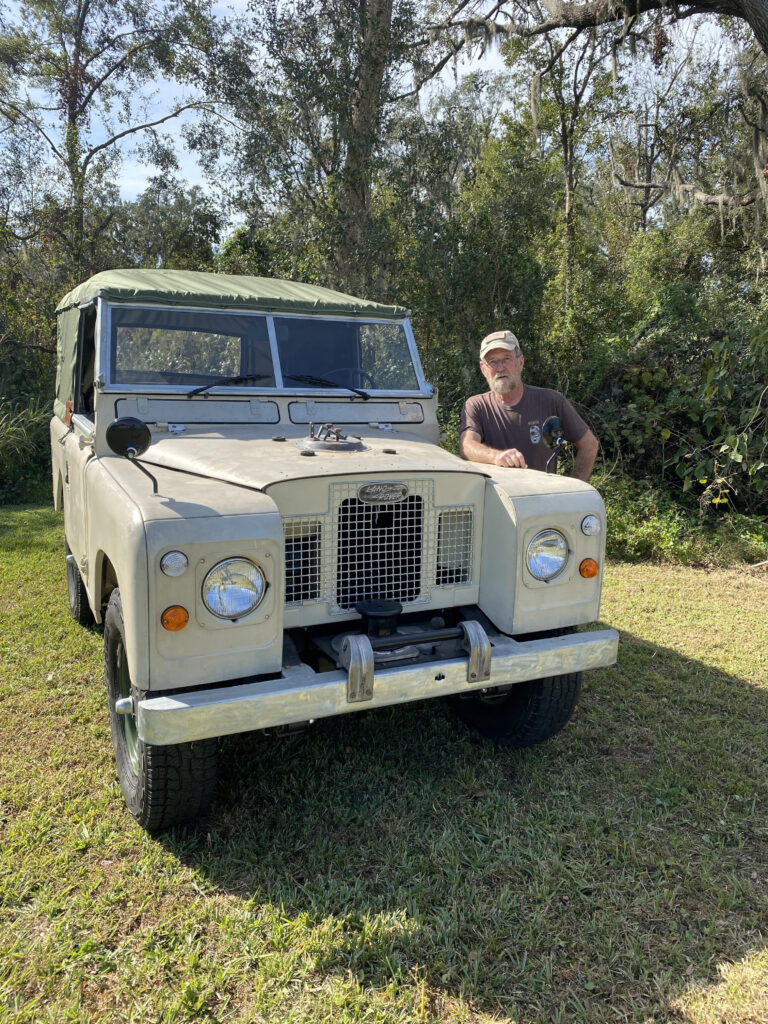
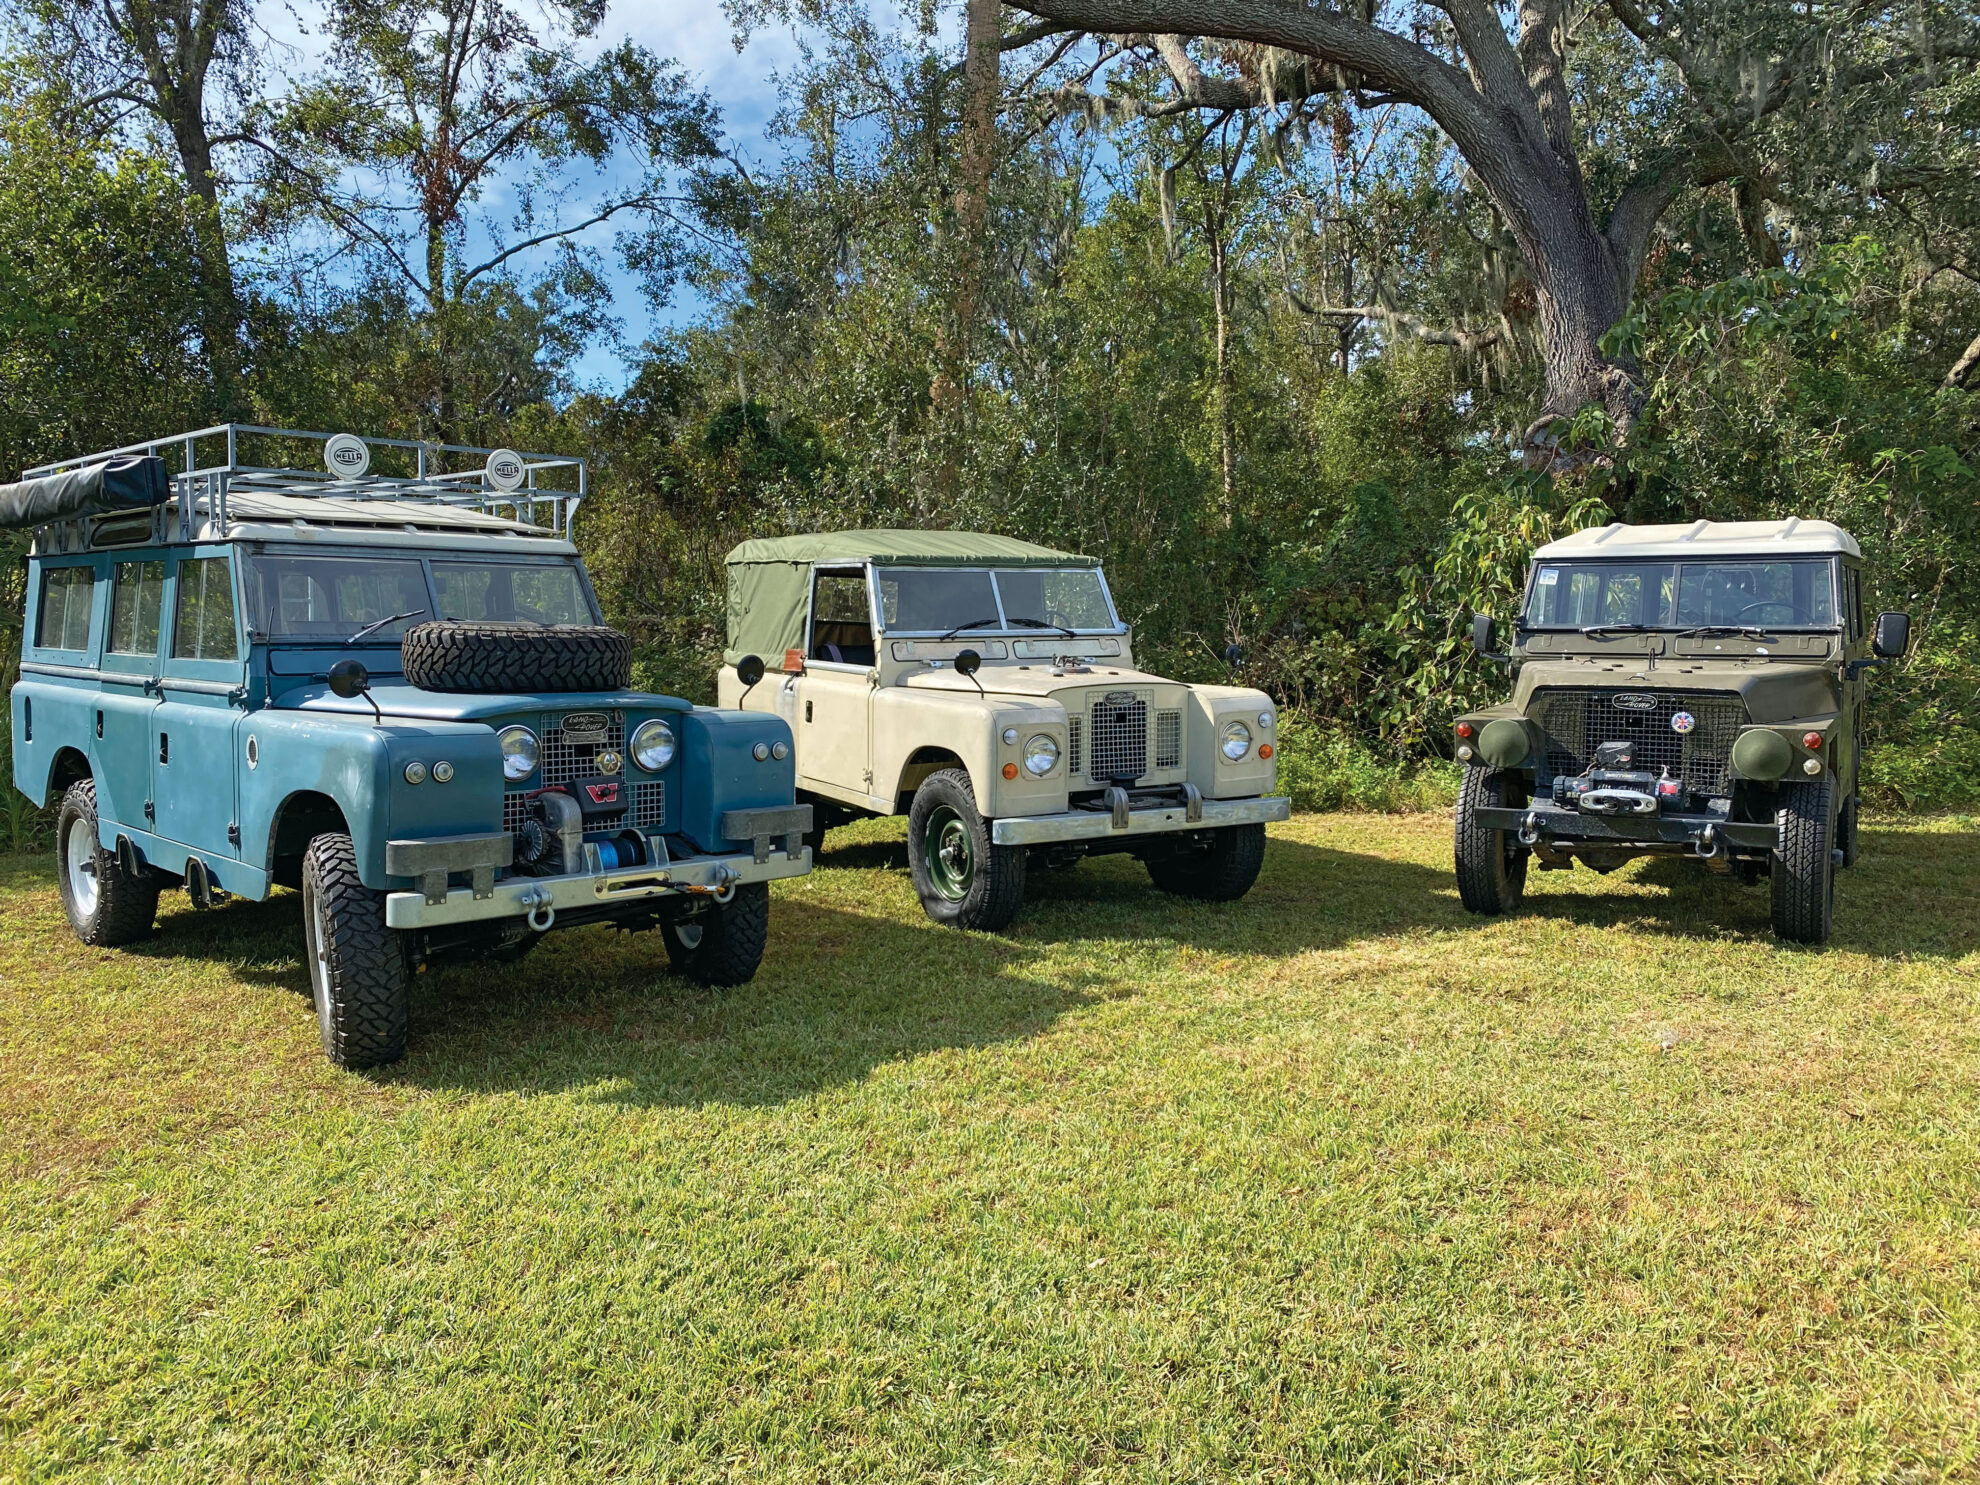
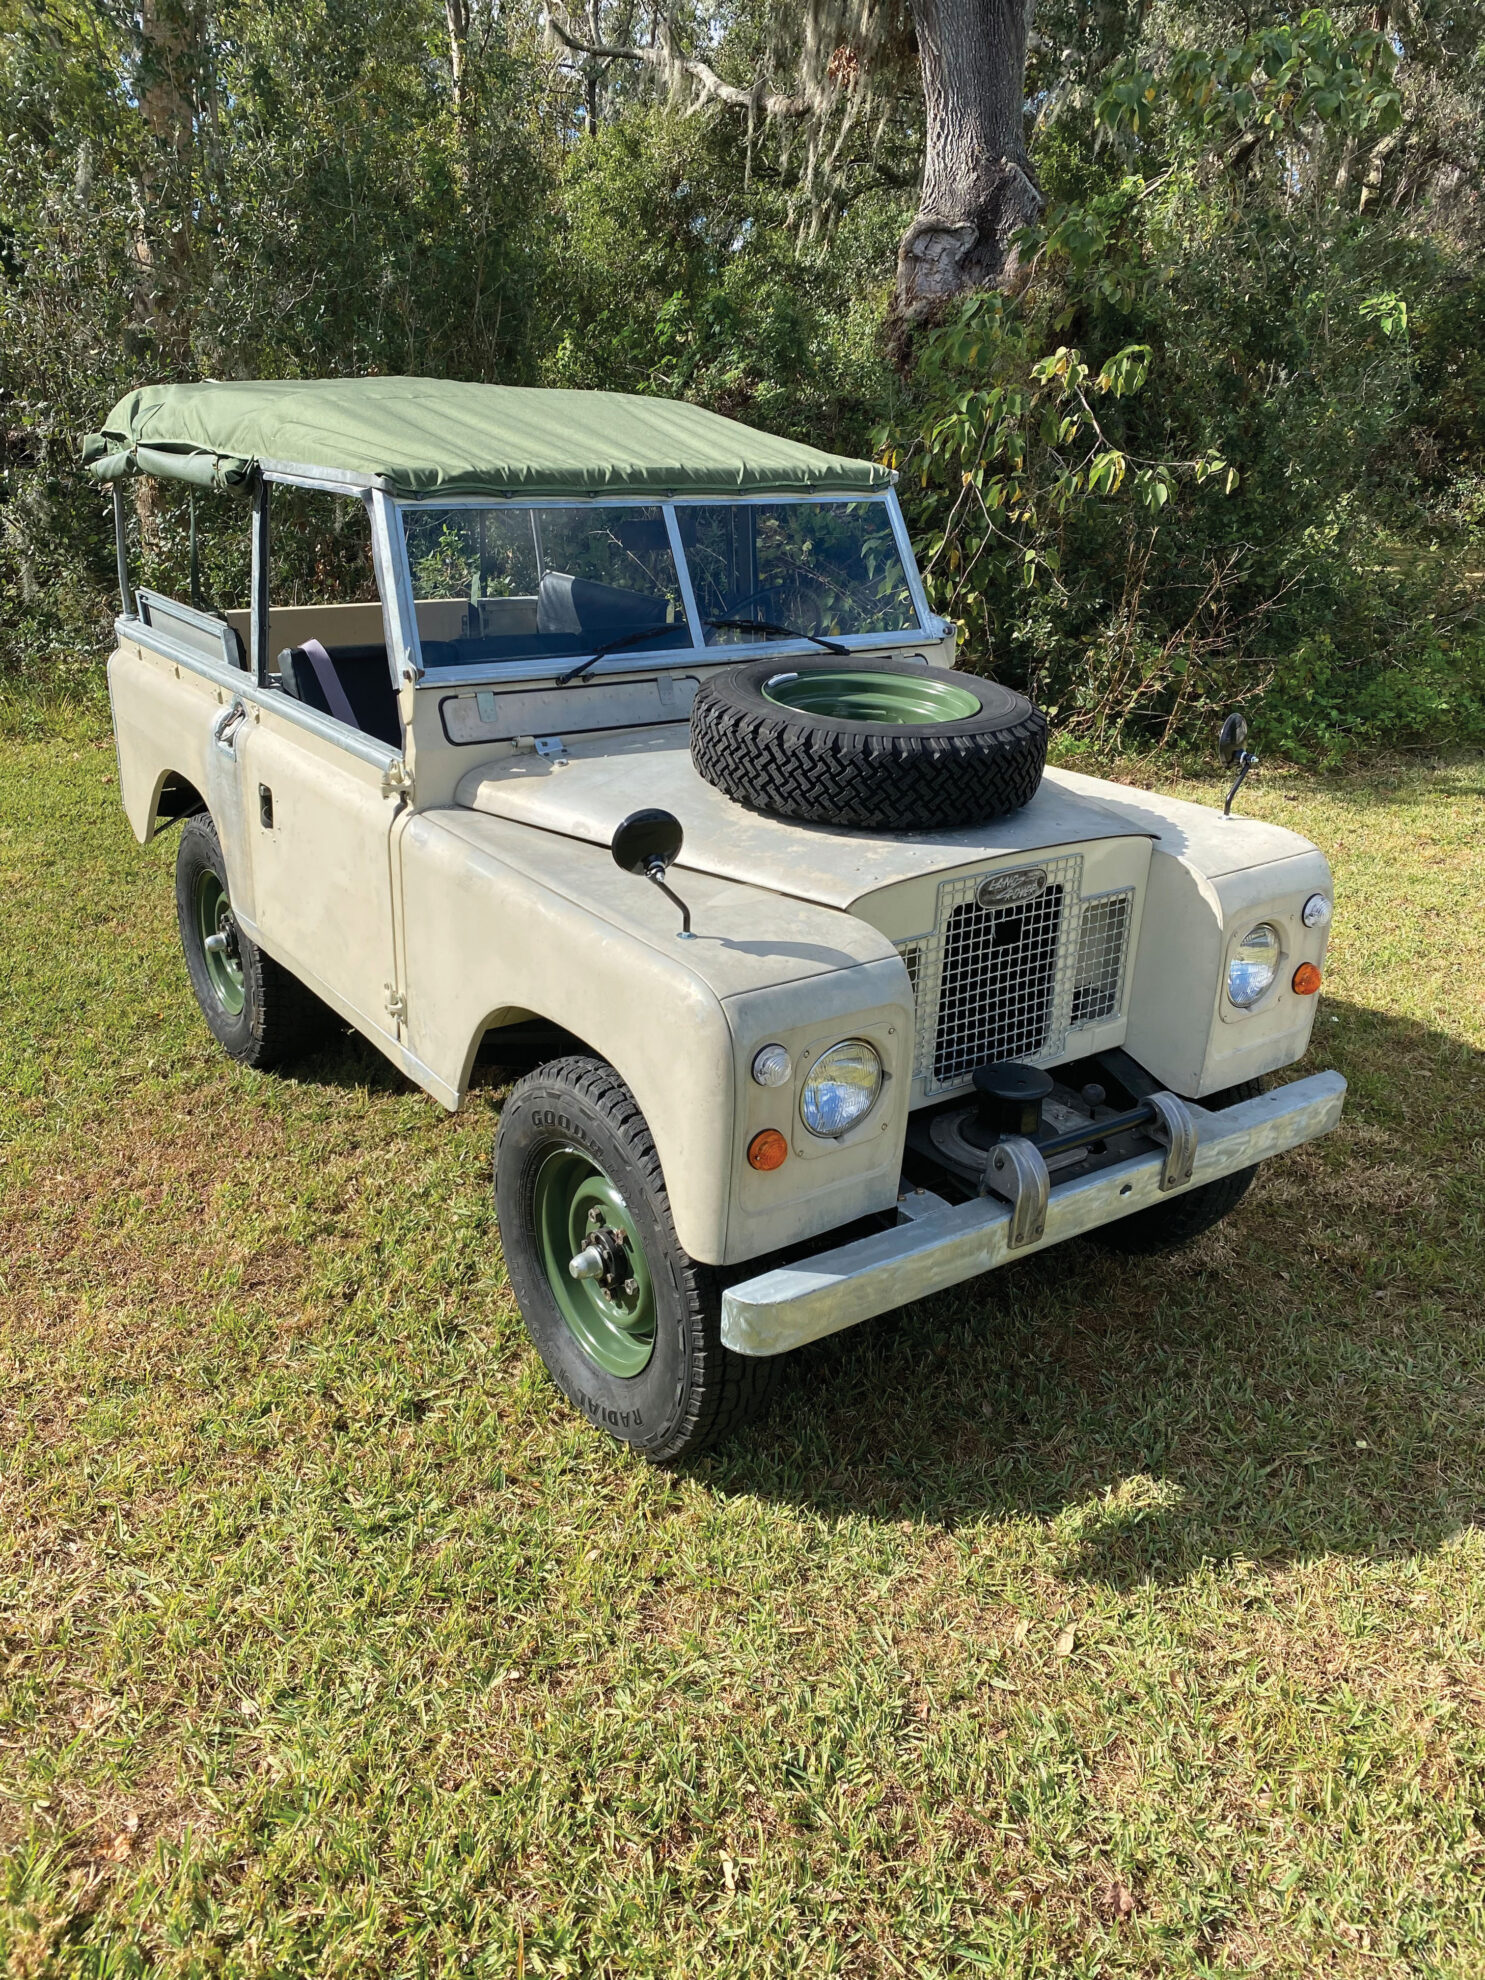
While my love of Land Rovers dates back decades, I could not re-enter the Land Rover world until my retirement from the military after 23 years; I finally settled down in one place and started my own business. I bought my first Land Rover, a 1968 Series IIA 109” NADA nine years ago, followed by seven subsequent ones. I wanted a Land Rover that most closely matched the ones we had in Africa; a LHD 109 with a tropical roof and rack. It took a long time to find one in the US. While our African family Rovers had diesel engines, this 109” featured the 2.6L inline Rover 6-cylinder. The ’68 received a sympathetic refurbishment mostly accomplished by others; upon completion I realized that I could only afford my rebuilding of Land Rovers if I did all the work myself. I now have a ’68 SIIA Lightweight, the ’68 109, and my current project, a “patina” rebuild on this most interesting 1970 Series IIA 88”.
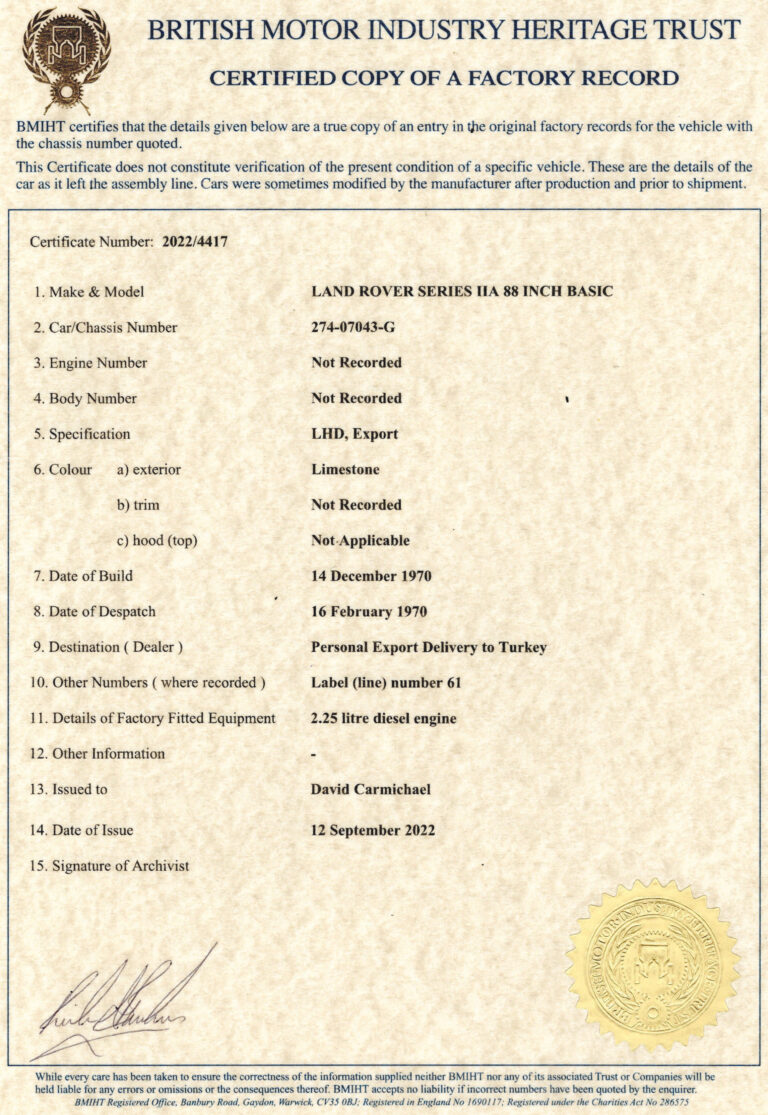
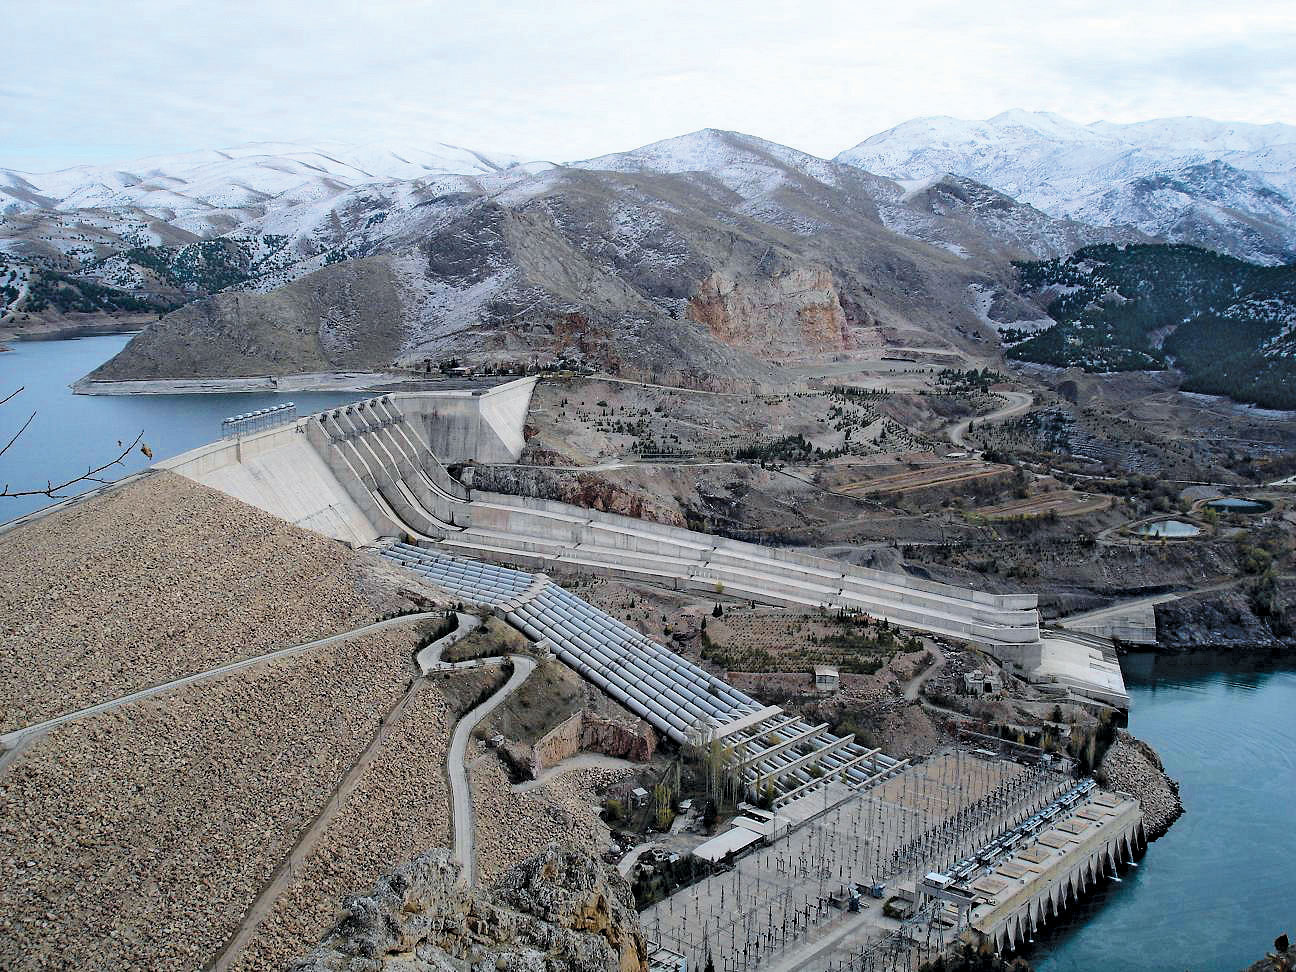
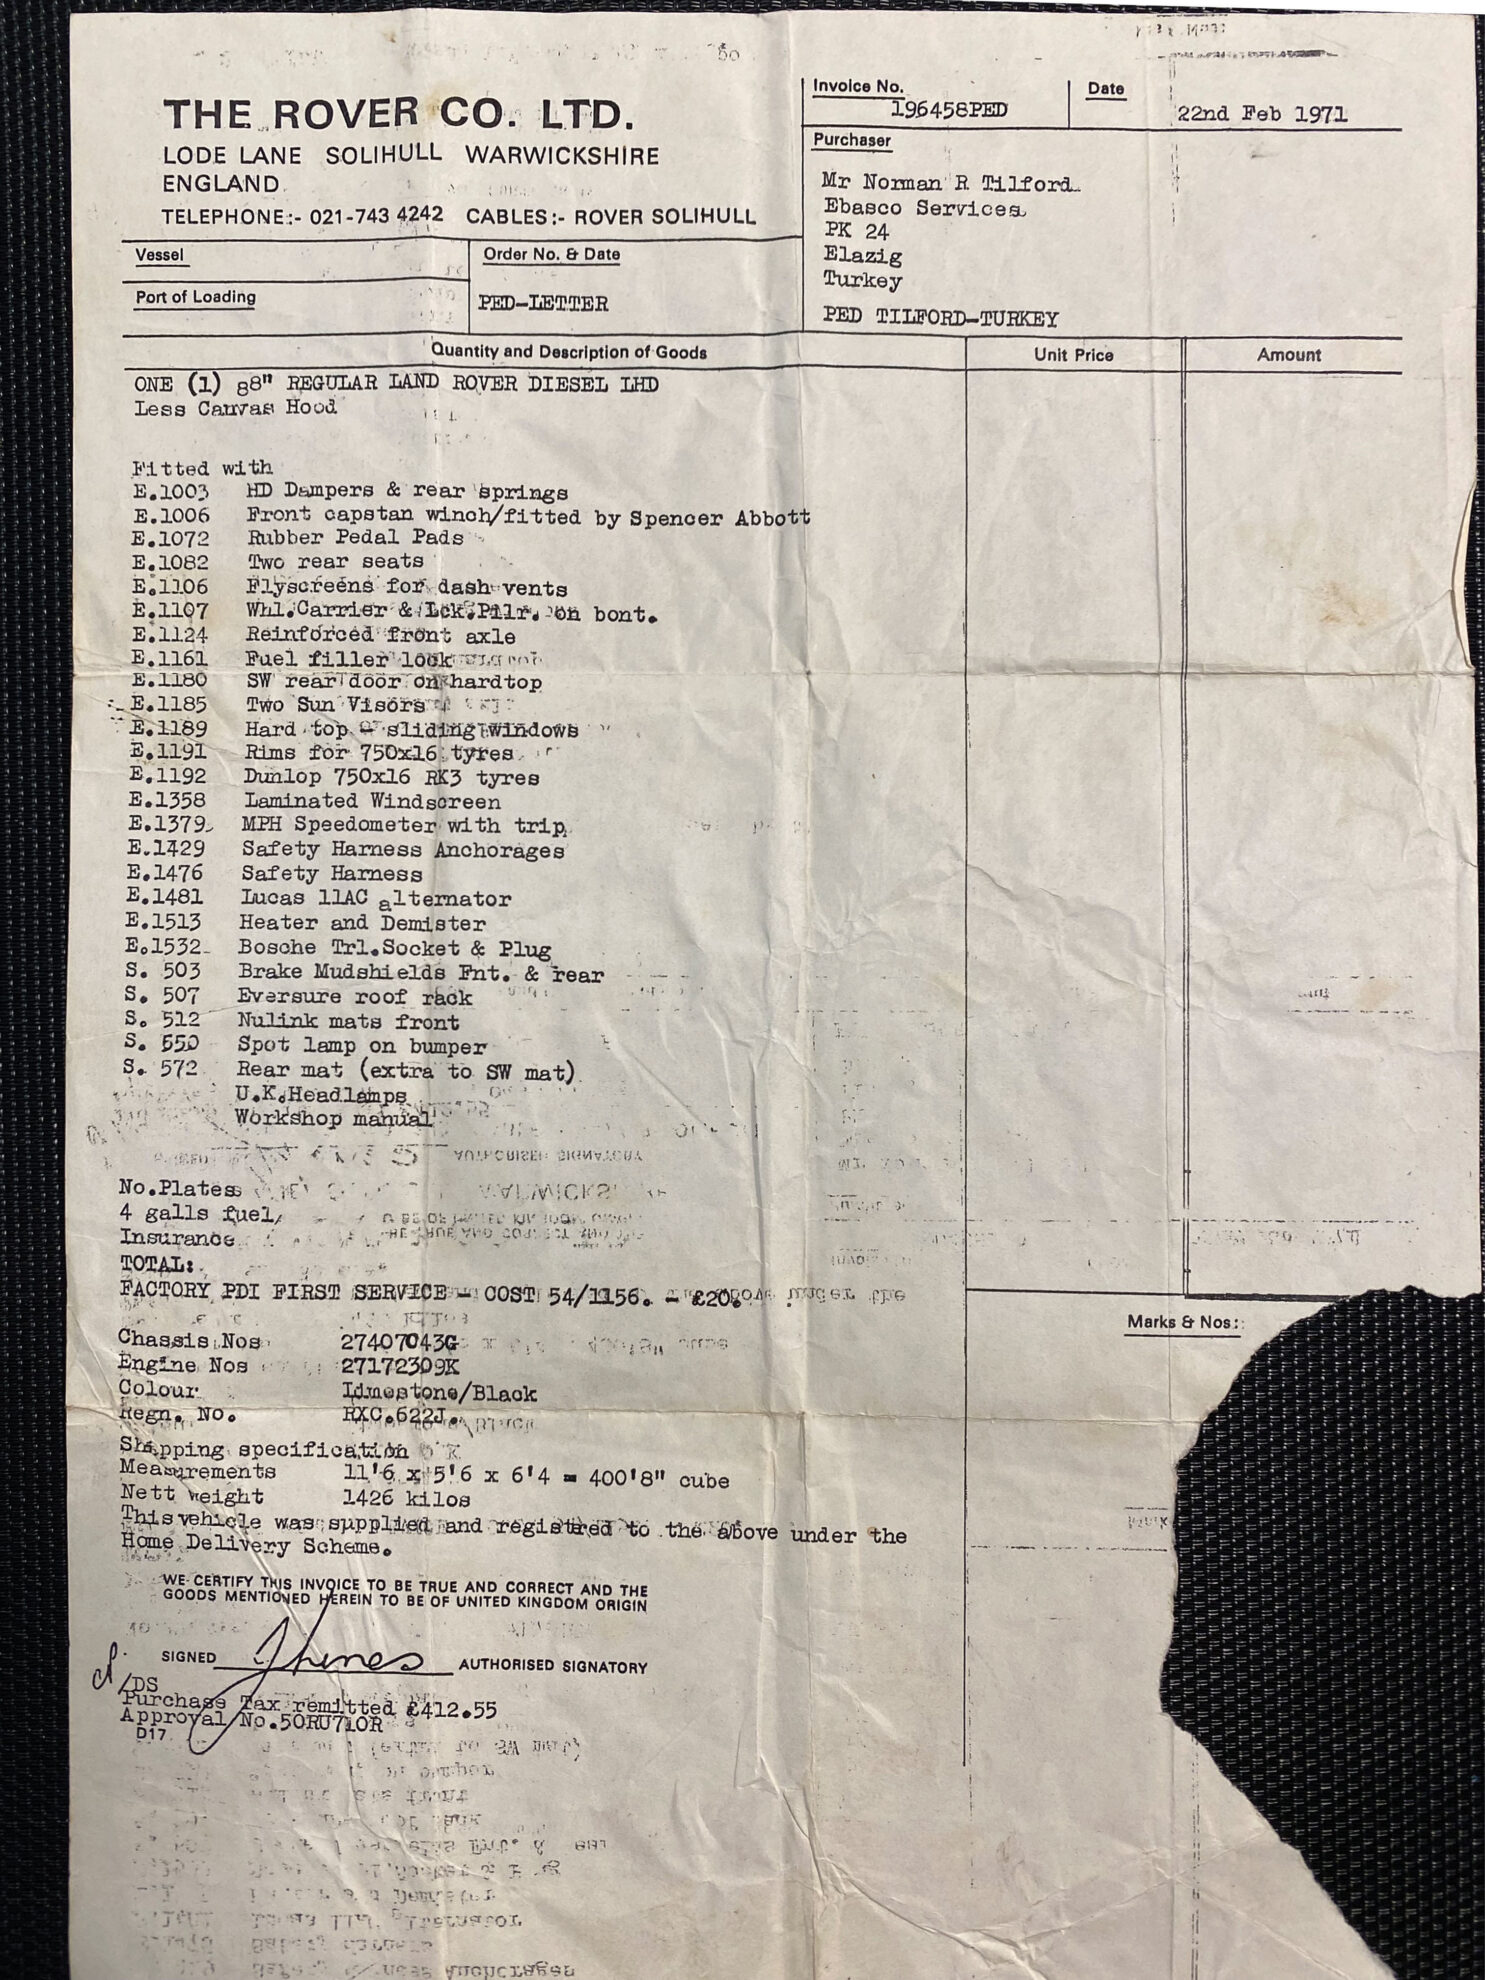
Researching the Series history through the British Motor Museum’s Heritage Trust program, I found that the Rover Car Company had registered it at the factory in Solihull and donated it to Ebasco Services for use by Norman Tilford, its head geologist at the construction site of Turkey’s massive Keban Dam, one of the world’s largest at the time.
Tilford, who would later become a Geology professor at Texas A&M University and Executive Director of the Association of Engineering Geologists, purchased the Land Rover; its North Carolina registration titled it as a “Jeep.” Several owners later, it became mine. Thankfully, none of them did anything except necessary mechanical repairs. It came to me with a large amount of files, literature, receipts and documented history — thanks to one previous owner who completed all the leg work to document this amazing survivor.
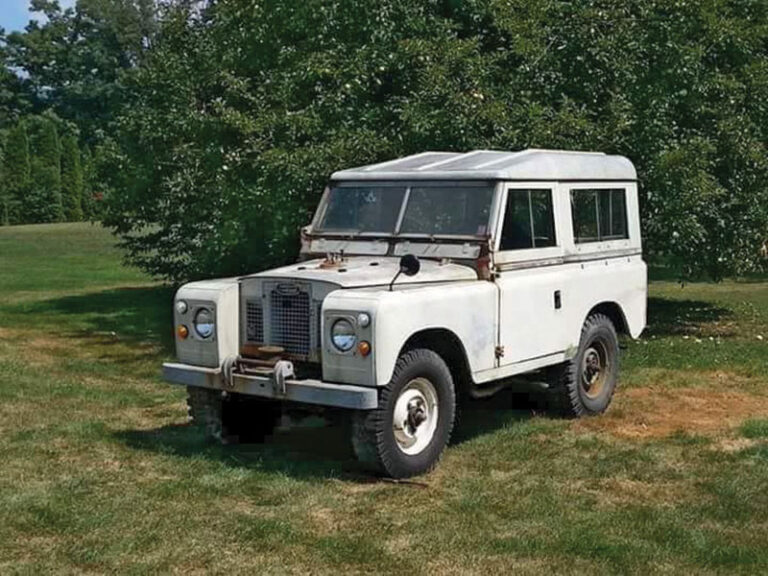
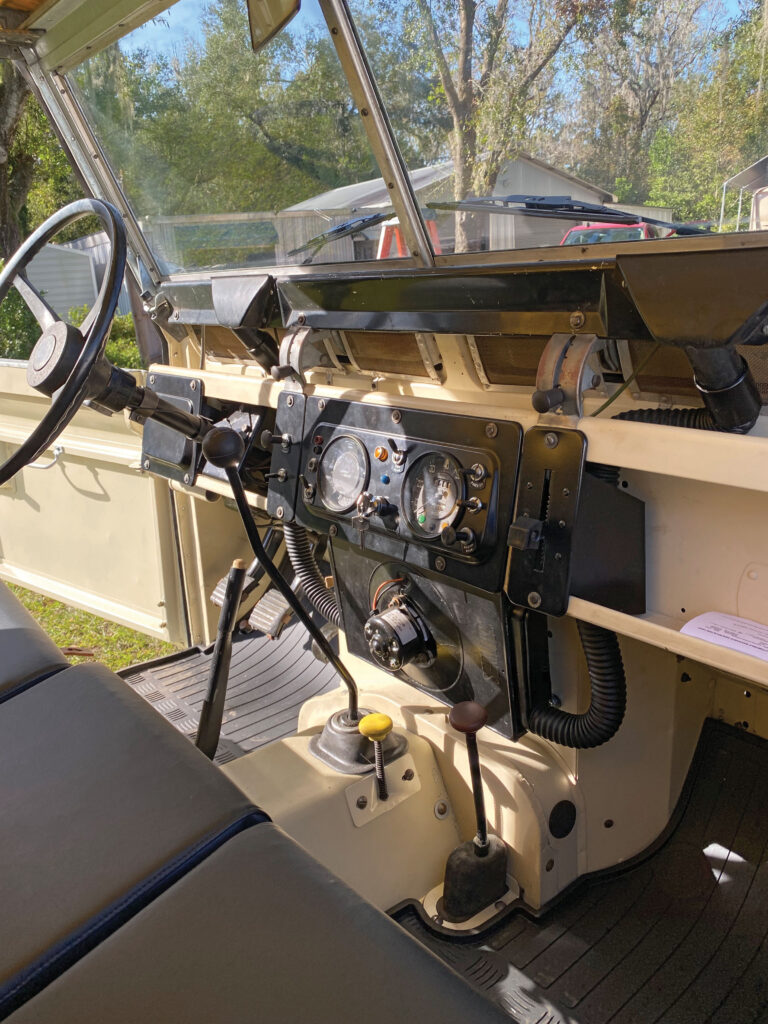
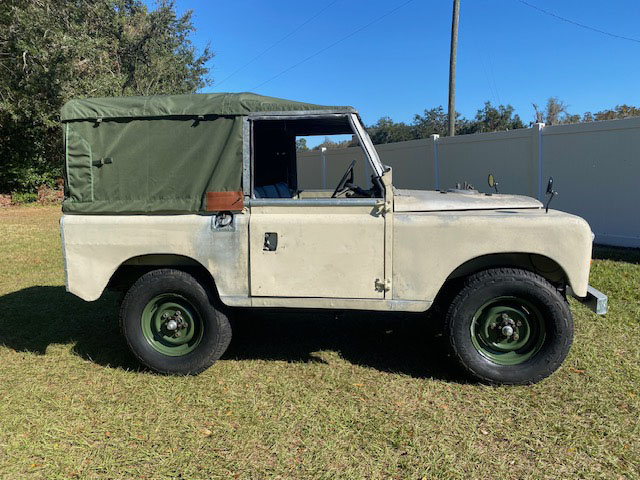
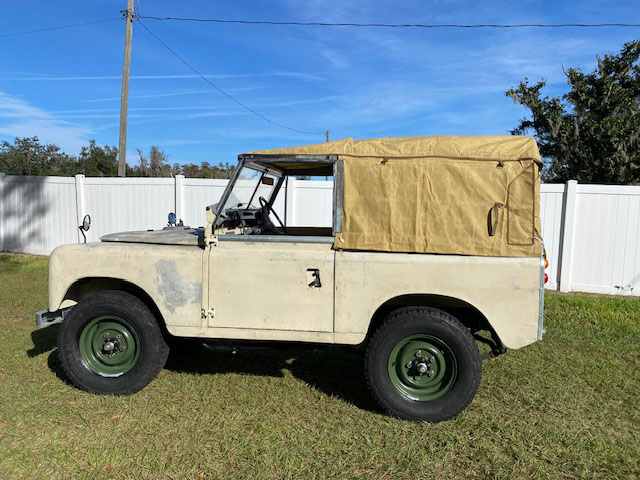
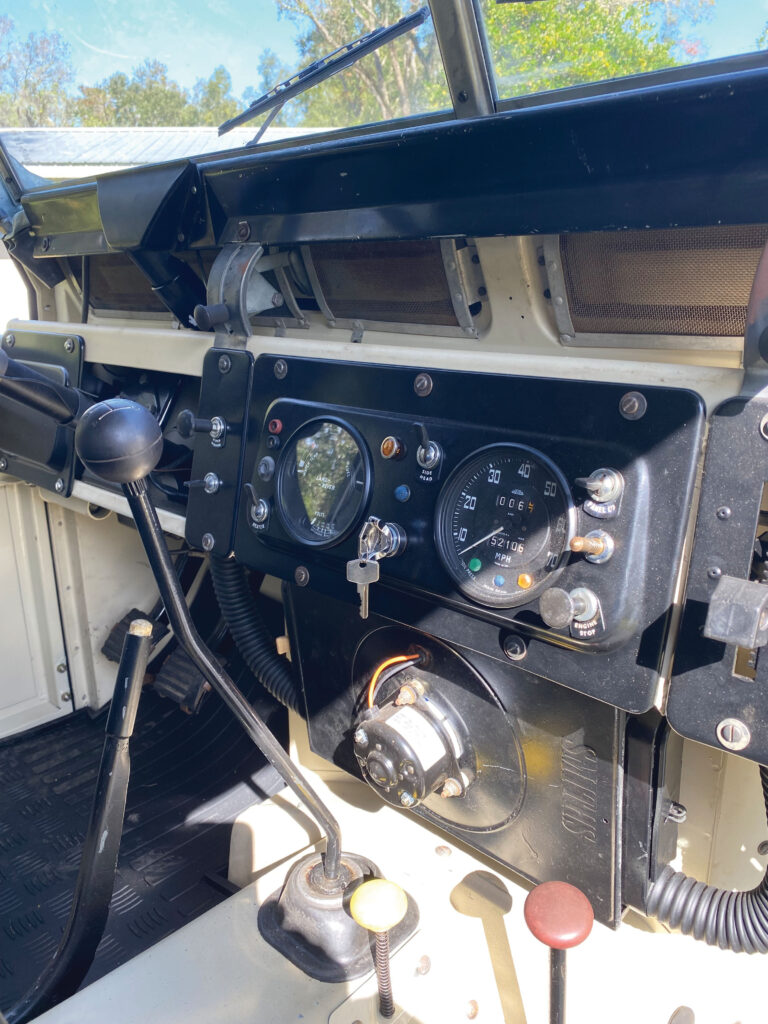
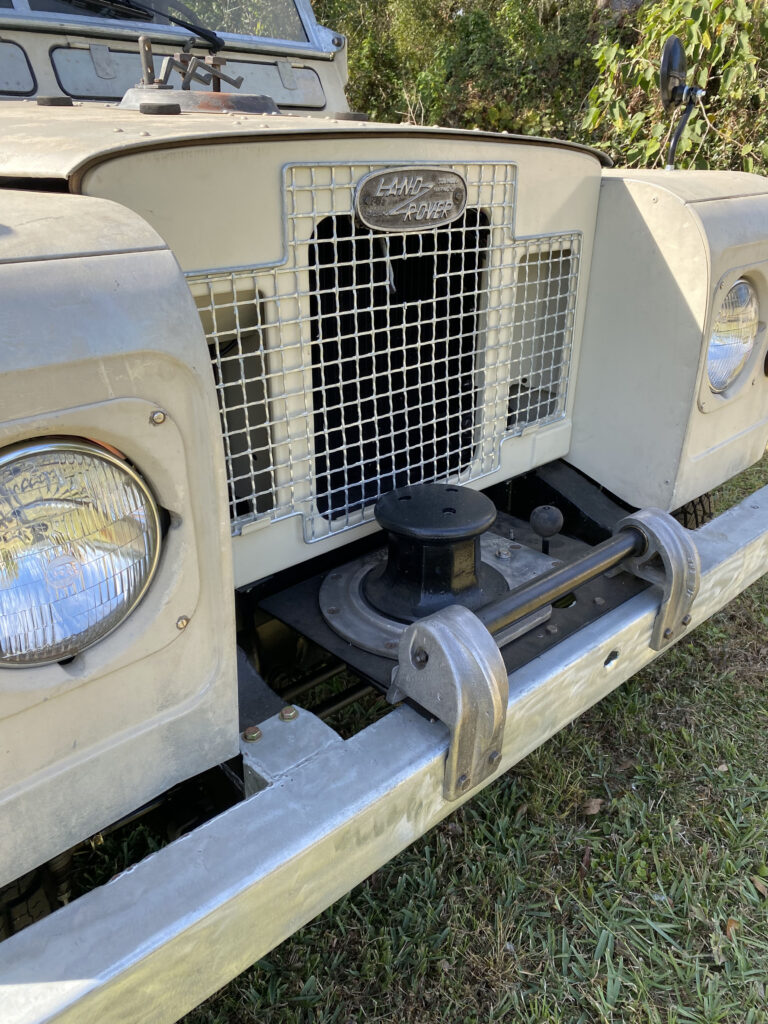
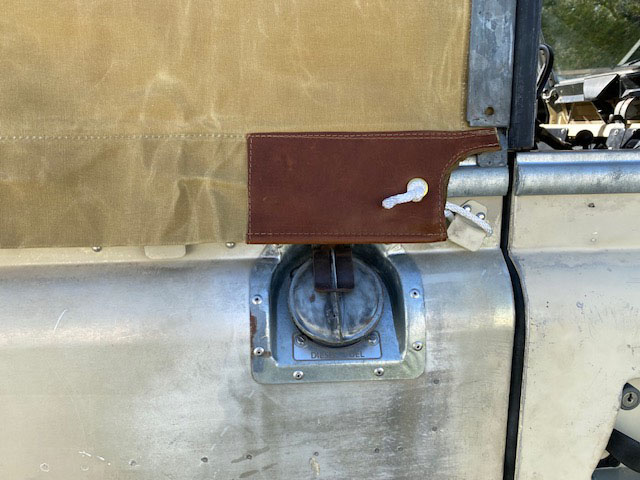
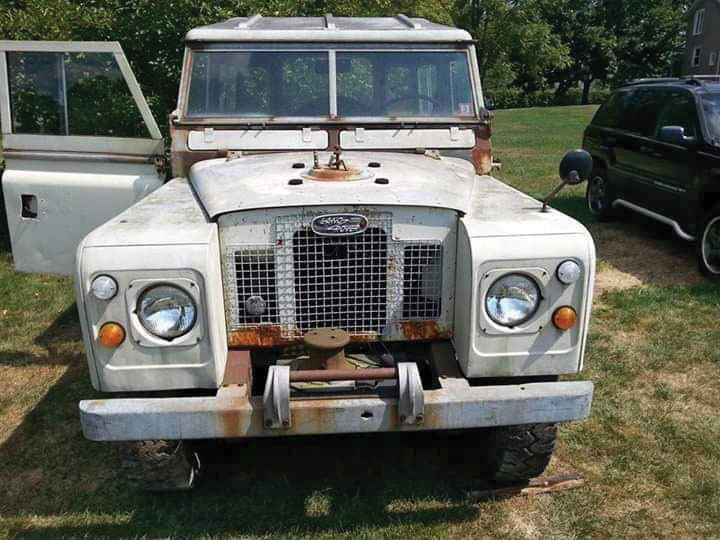
It was quite an original LHD 2.25 diesel Land Rover, seemingly right down to the last nut and bolt. It has only 50,000 miles on the odometer. It came from the factory as a utility, hardtop version — no headliner, no door panels — set up for Turkey/EU specs with LHD and European spec headlights. As per the practice at Rover, old, stockpiled parts remained standard until used up; for example, the IIA shift lever mates to a Series III synchromesh transmission. This vehicle also has a factory Capstan winch, roof rack, even Series III fenders with cutouts for the dual-brake circuit system with servo, but with only a single circuit brake system.
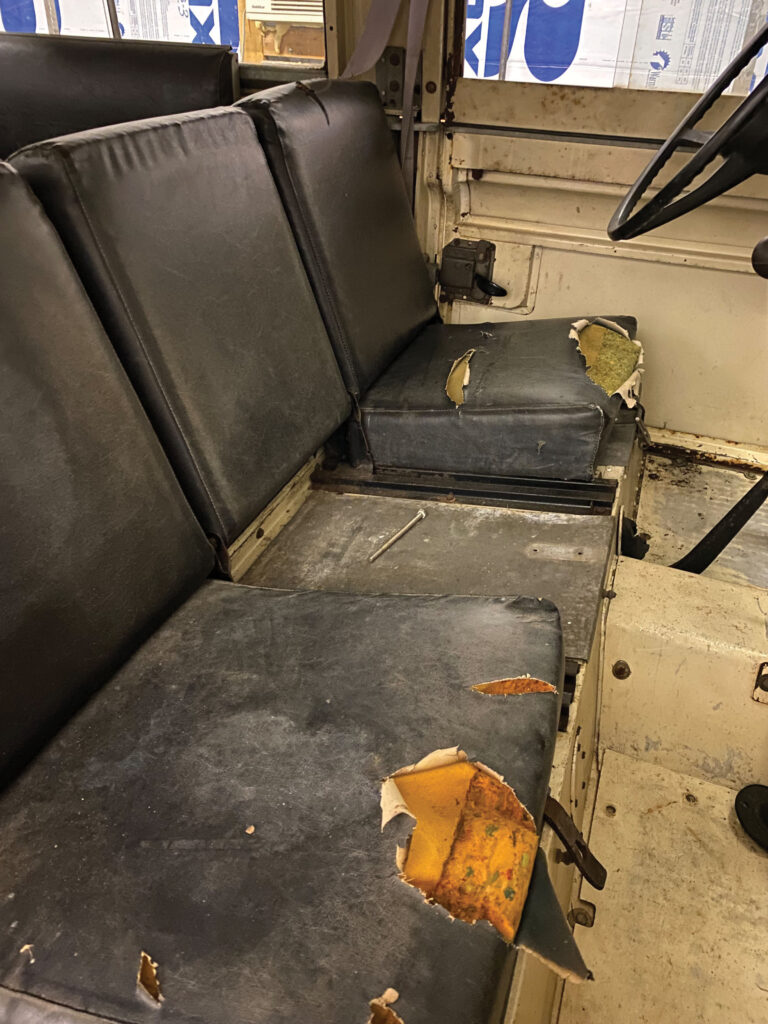
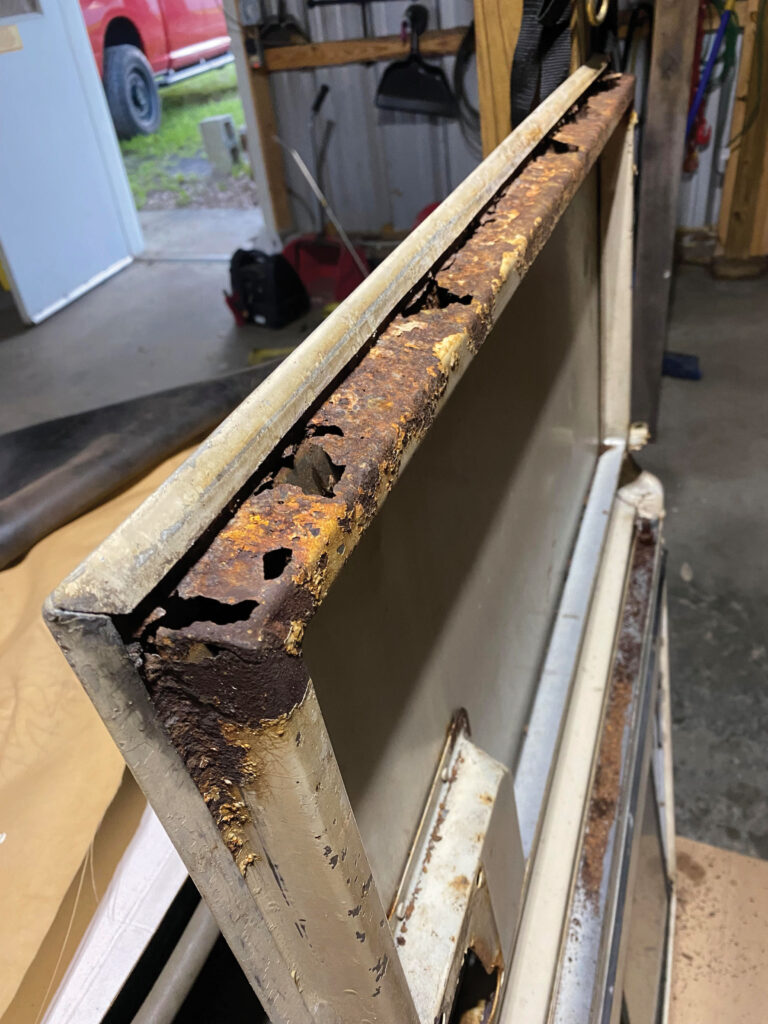
Service records that came with the Land Rover show only general maintenance performed over the years, with a 15-year layover in a garage. I thought of just refreshing it mechanically, but closer examination showed the effects of the elements in the US: rusted window channels and door bottoms, and a serious hole in the bulkhead. I knew I would have to rebuild the brakes and clutch hydraulics — but I didn’t anticipate how much would require rebuilding. I found myself clueless as to the real condition of the Land Rover and soon uncovered many rabbit holes I’d have to travel with this vehicle.
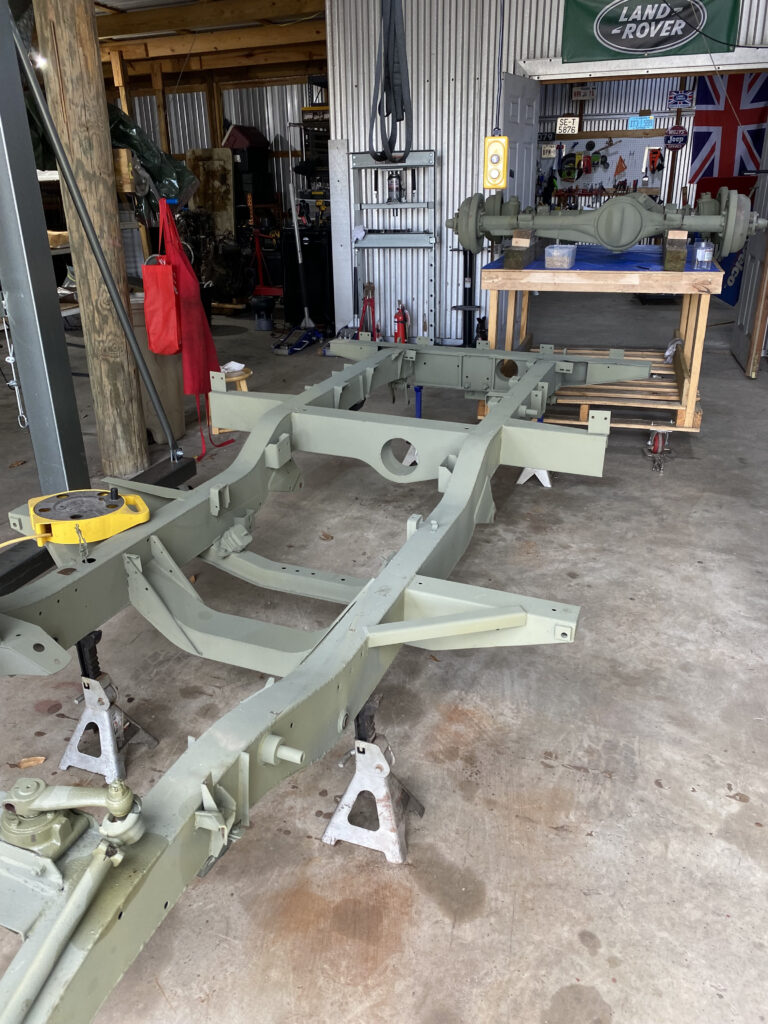
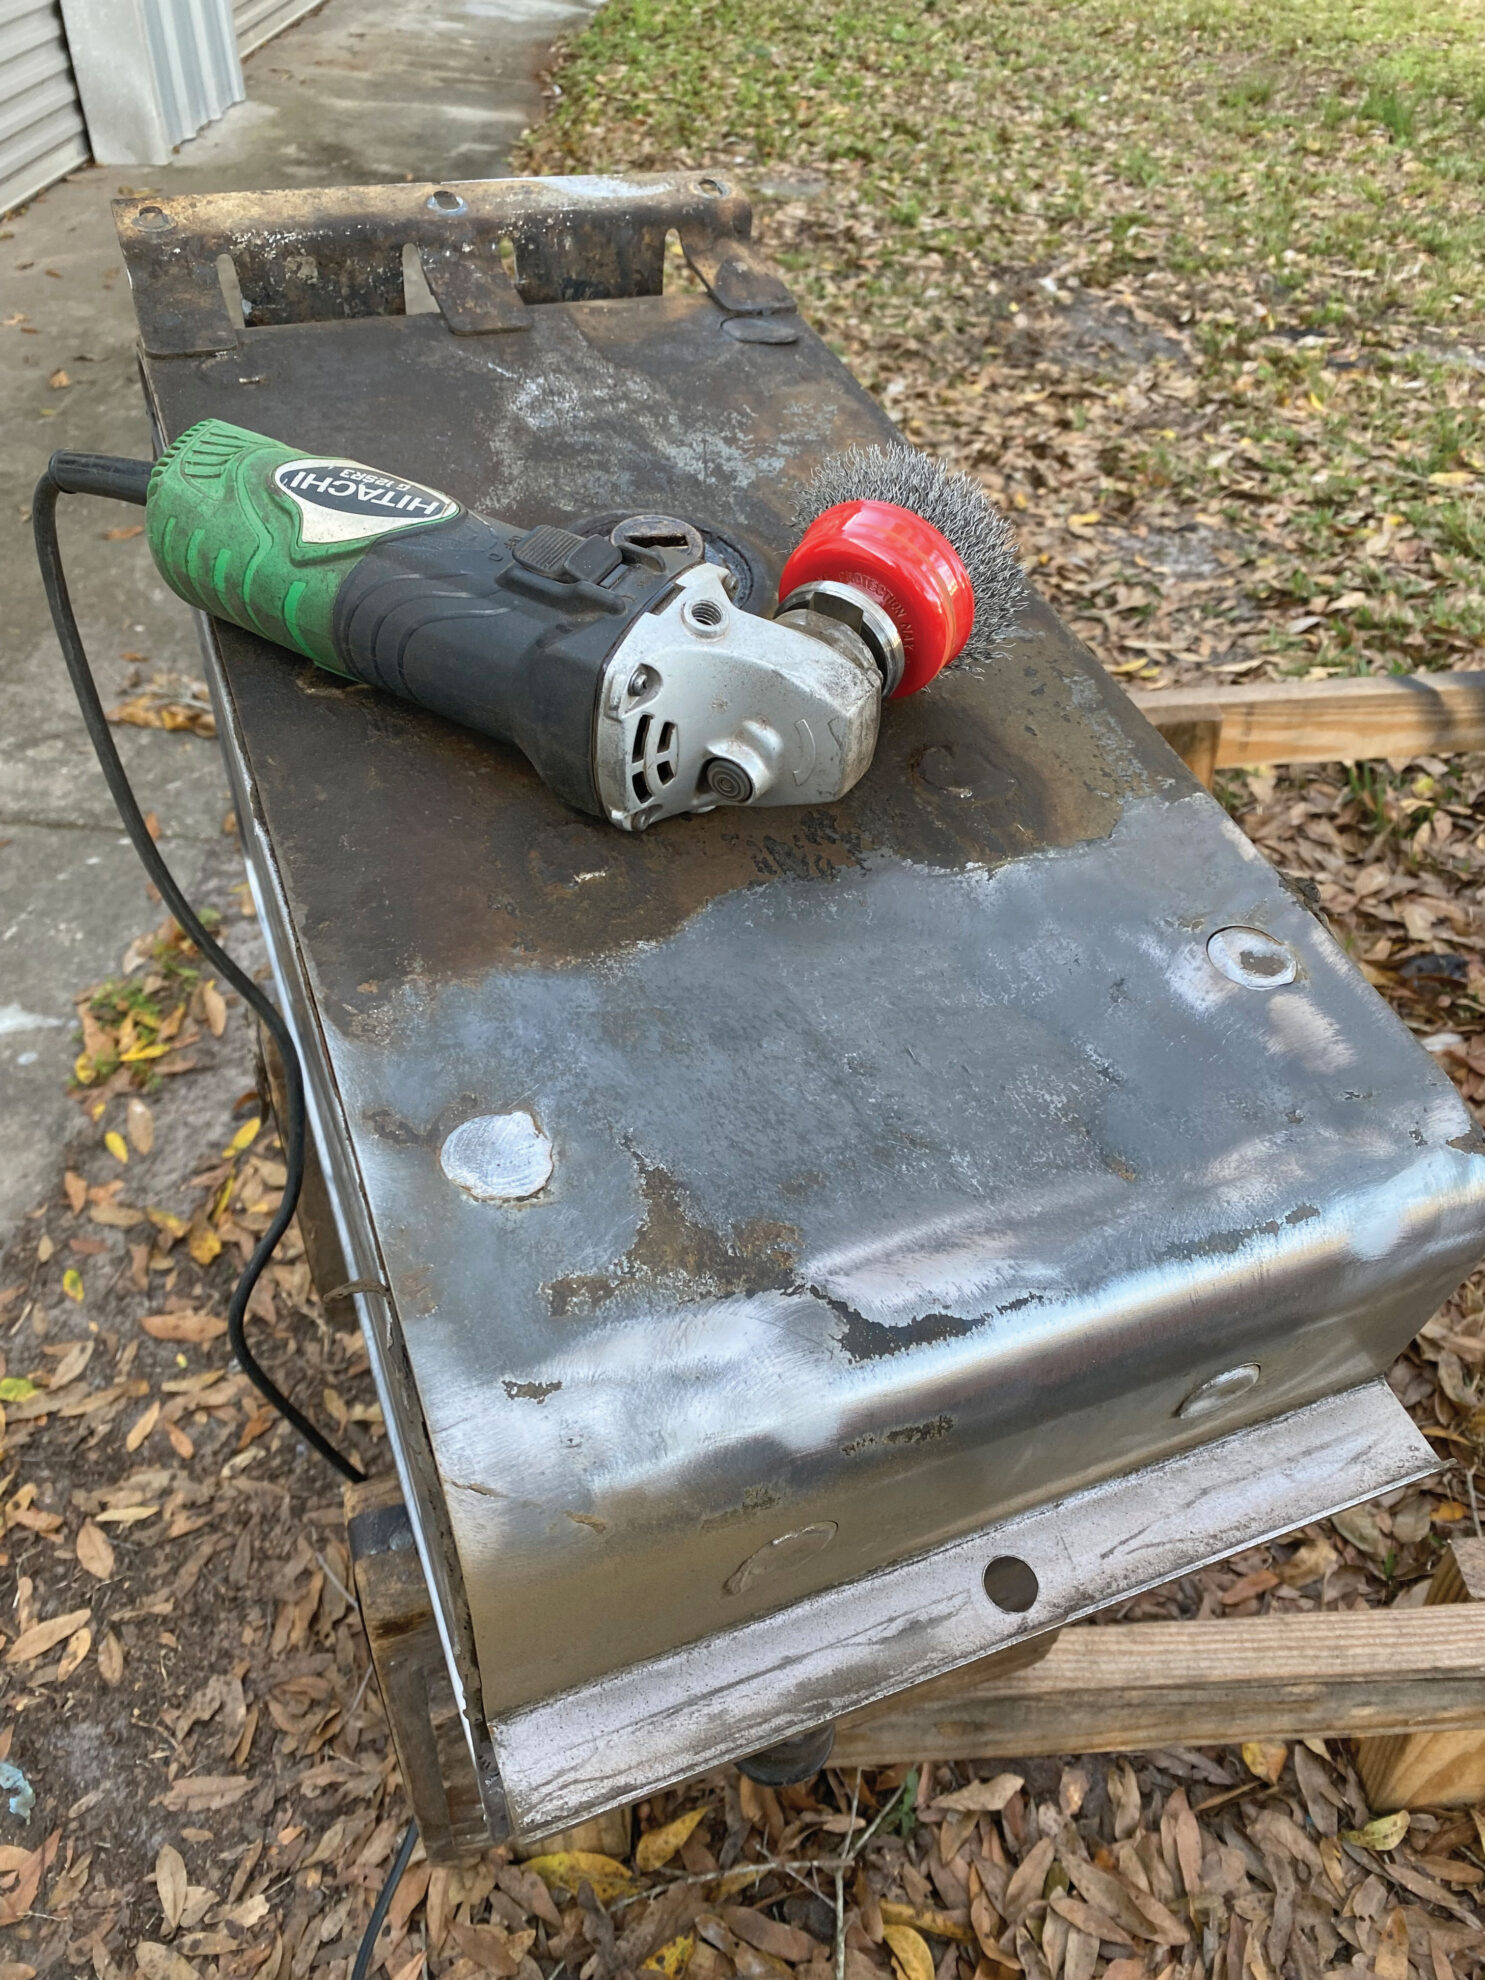
It’s one thing to preserve the overall “patina,” but there’s a fine line (or even a red line) between patina and rust. Soon after starting I realized that I could not live with a job with my name on it while leaving rust or galvanic corrosion. Furthermore, it made no sense to repair some things and not all things, given that I was so deep into the job. With that mentality I found myself in the end, removing every nut and bolt. Now everything from the bare frame up has been cleared of rust, painted, repaired, or replaced.
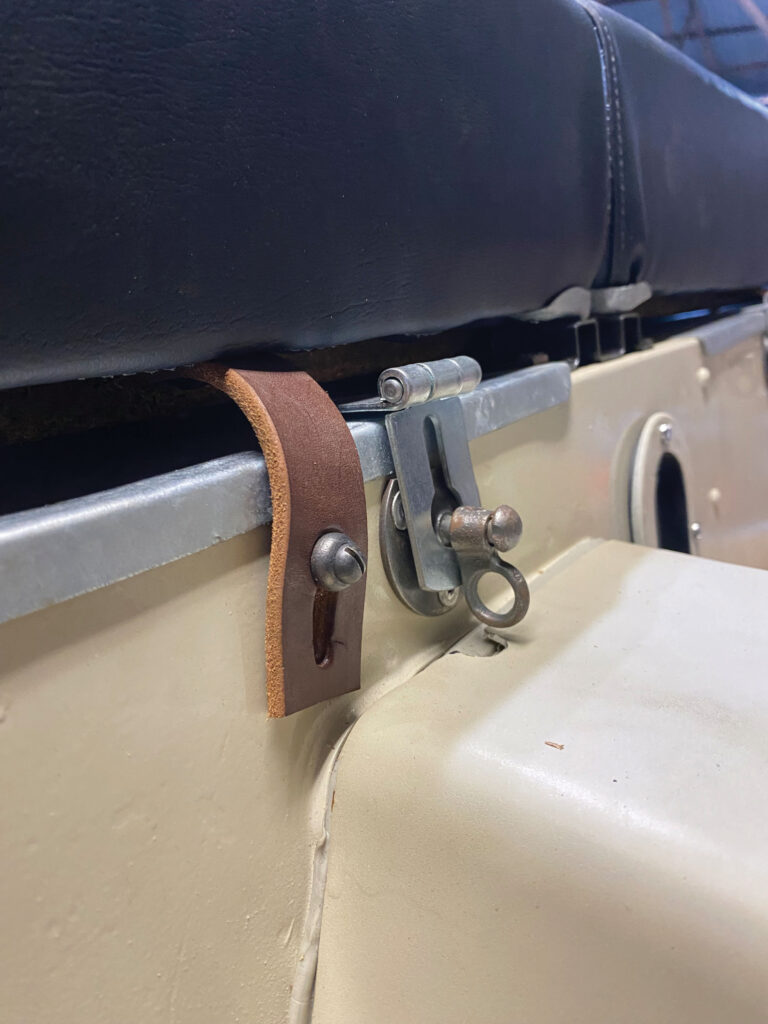
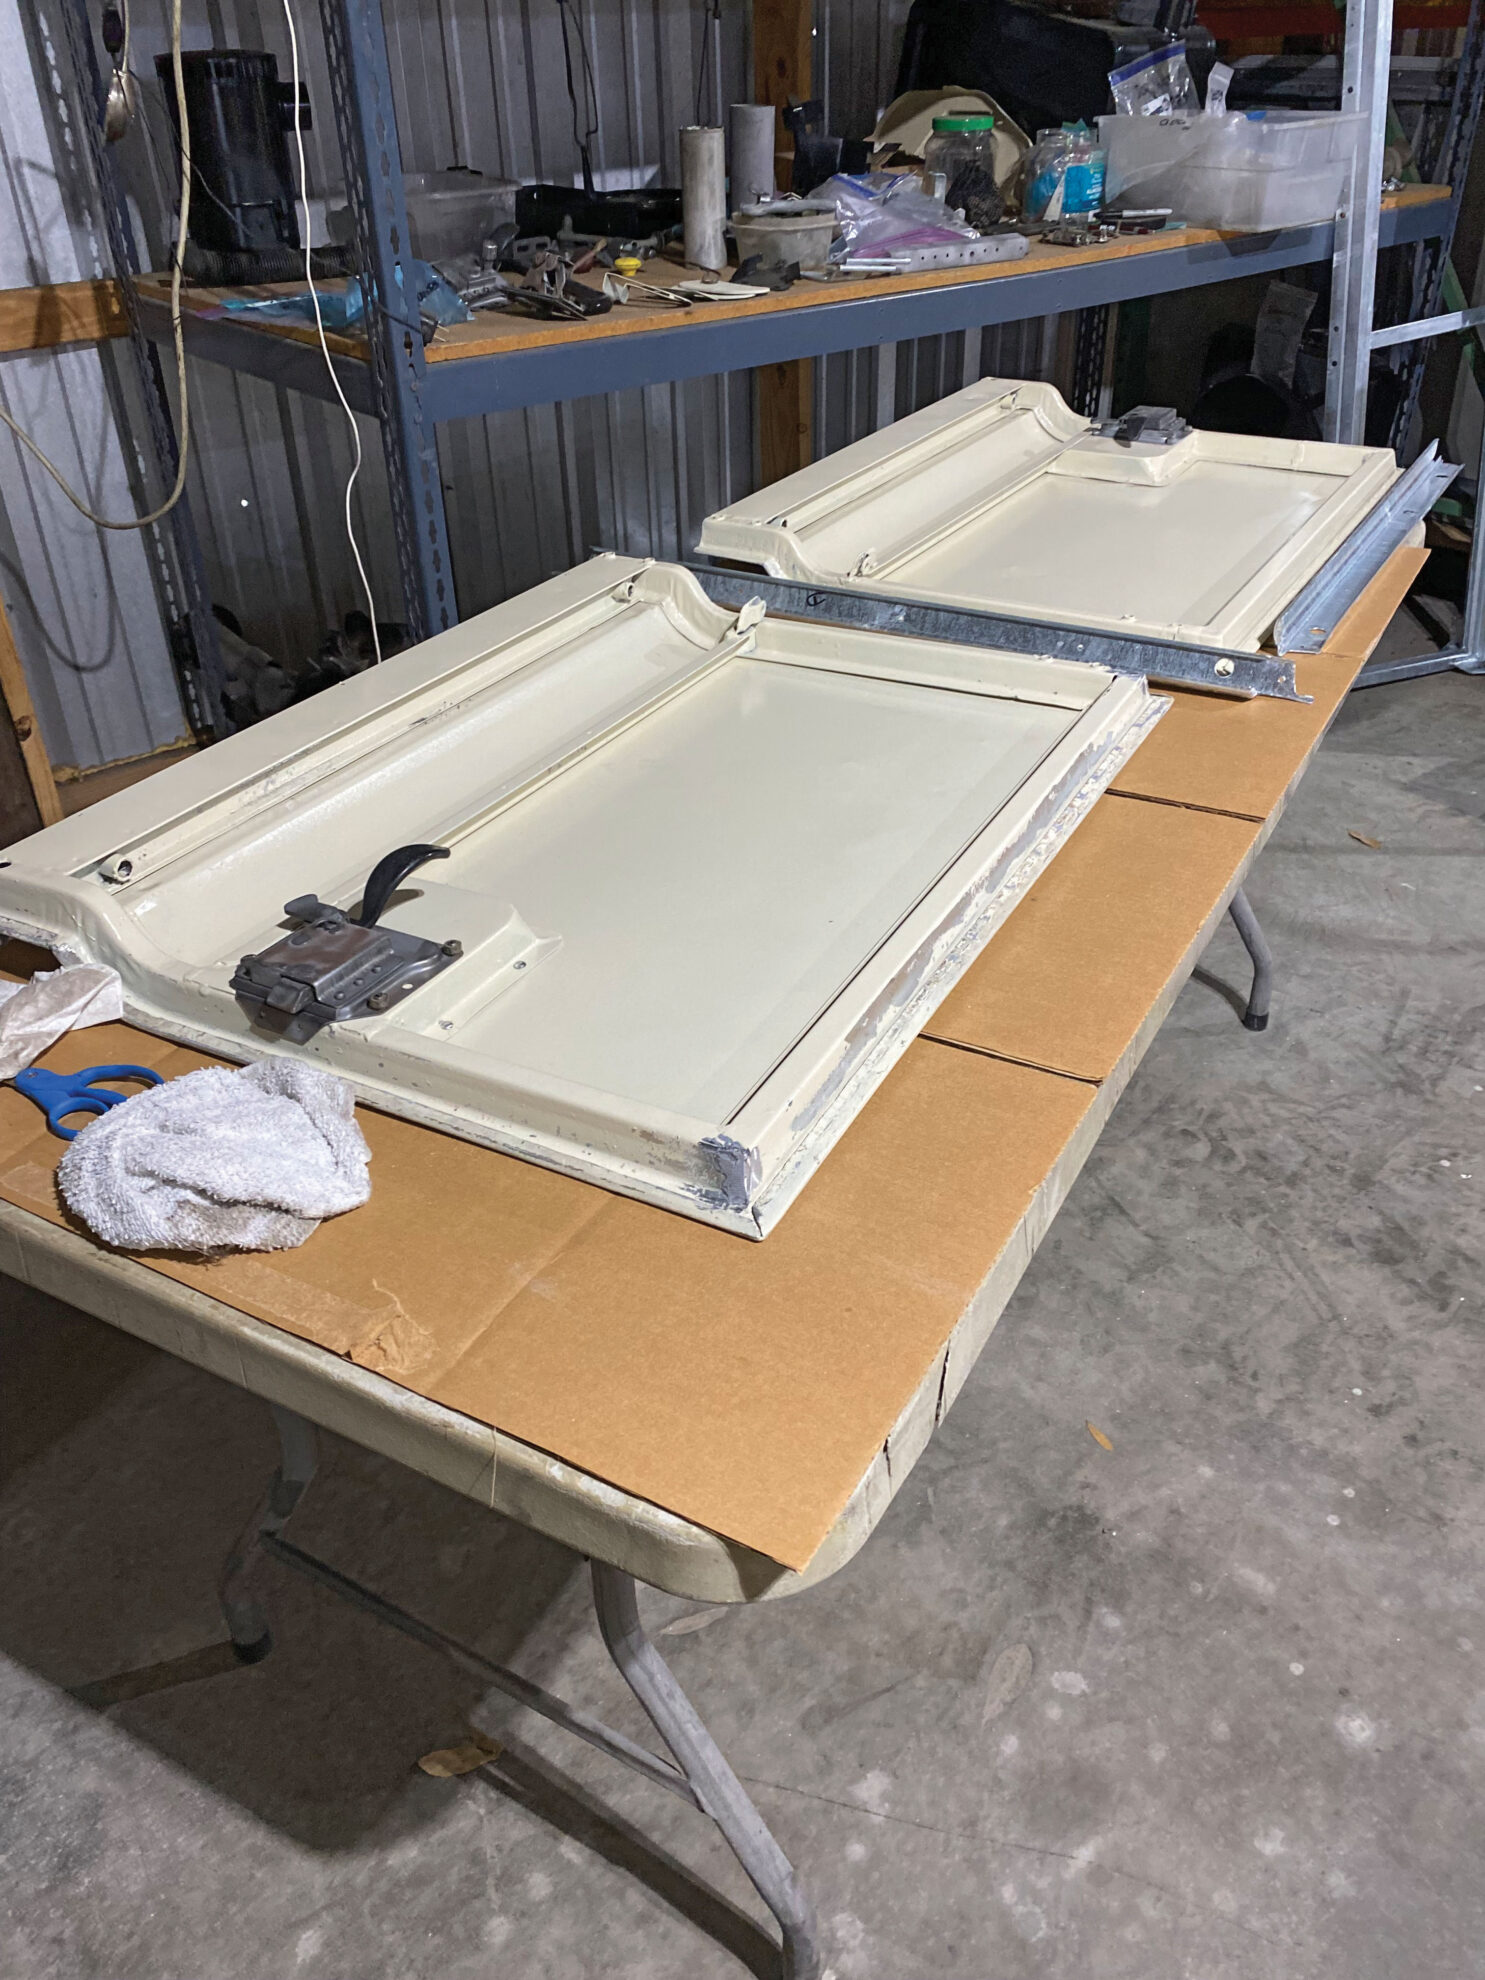
In all that, my goal has been to restore the Series to the way it left the factory, as closely as I could, given the availability of the components. Even though there are upgrades that could be done to it to make it a better daily driver, I have chosen to put it back to factory specs. I also made the decision to preserve the patina of the exterior panels. All other parts, inside and underside, have been painted or re-galvanized and all the galvanized parts visible from the outside (windscreen, cappings) have been re-galvanized.
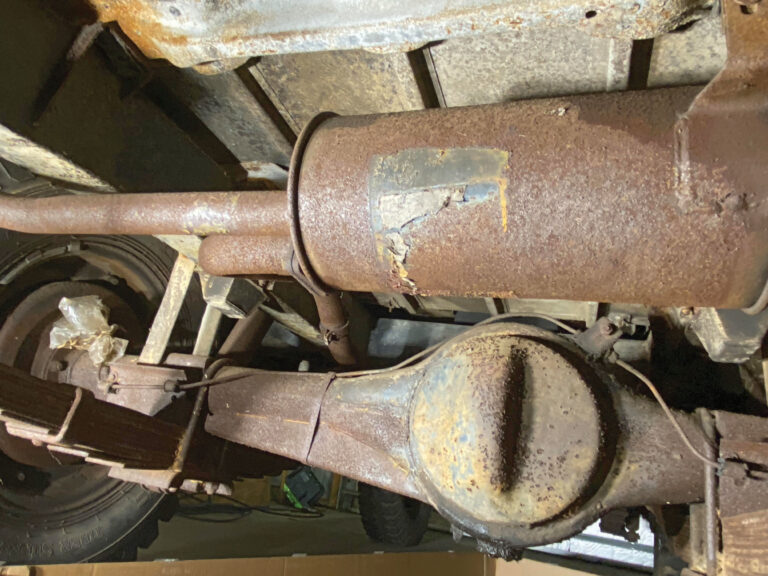
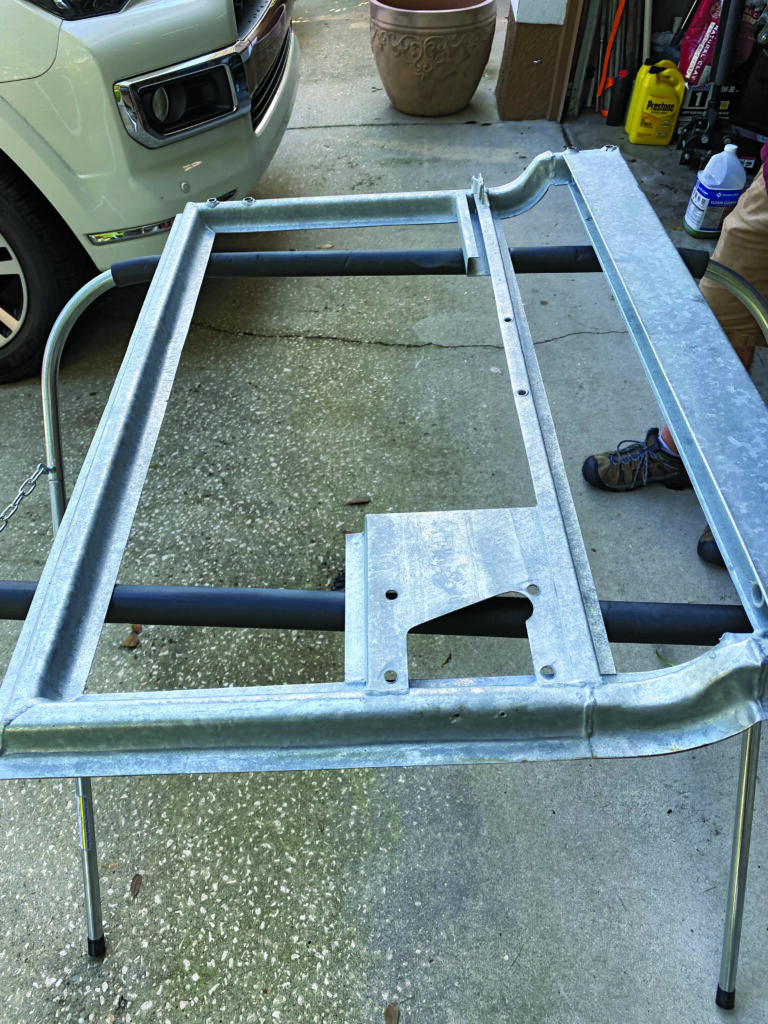
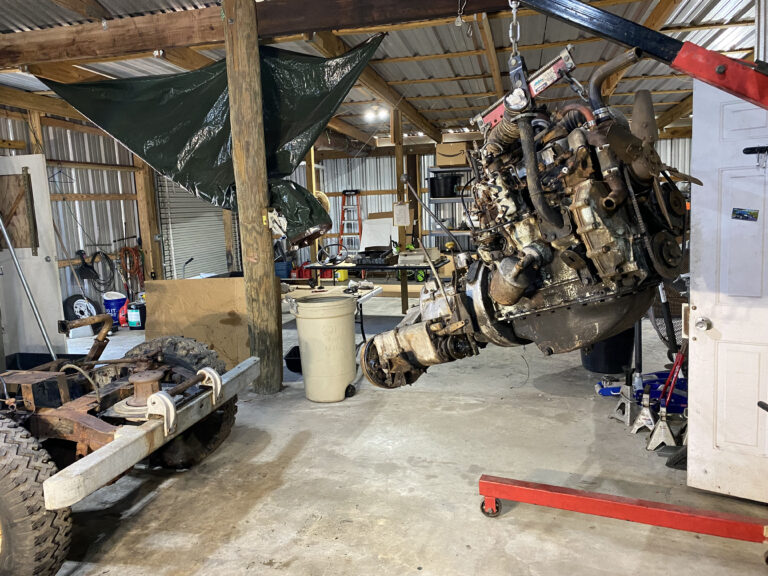
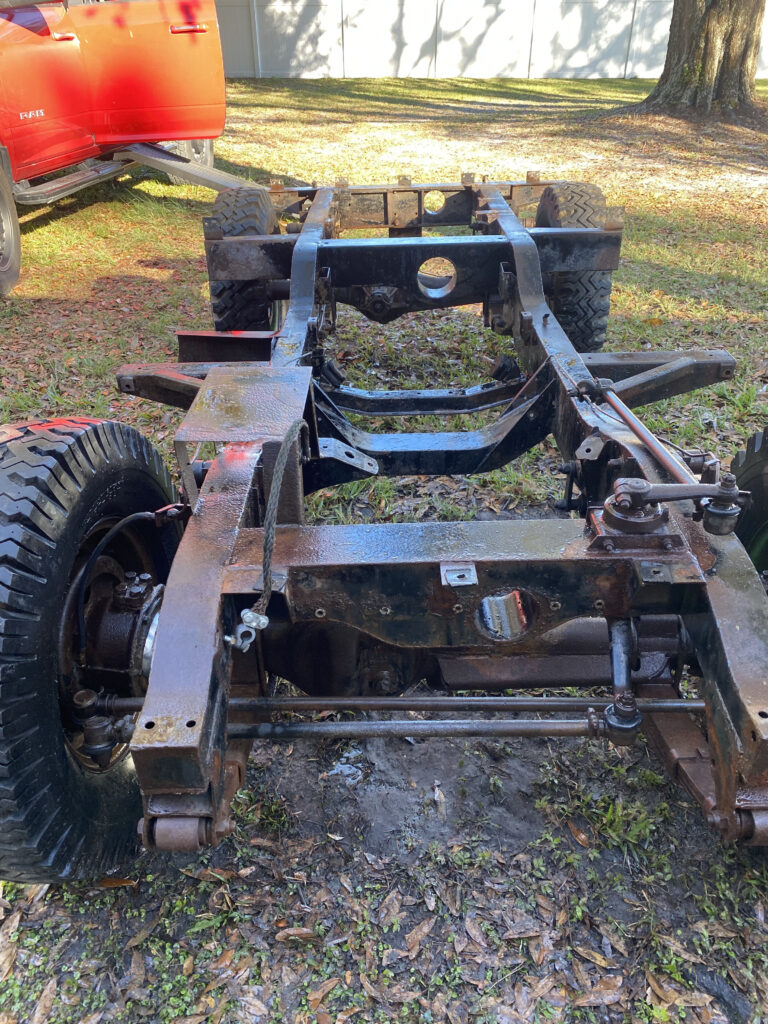
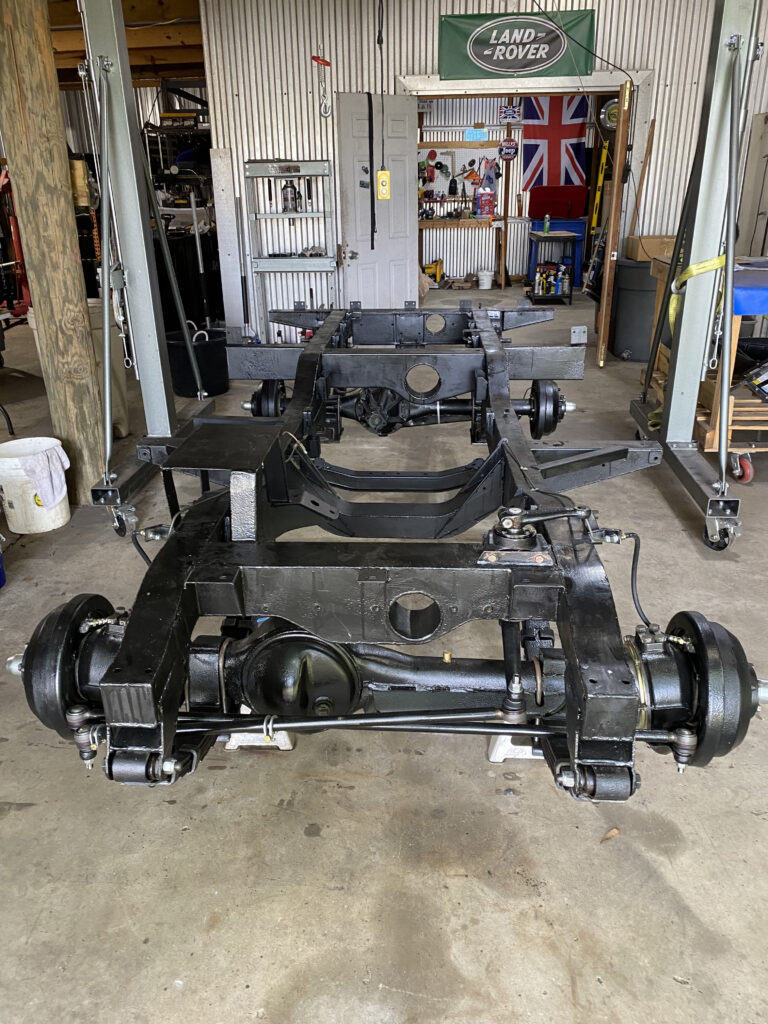
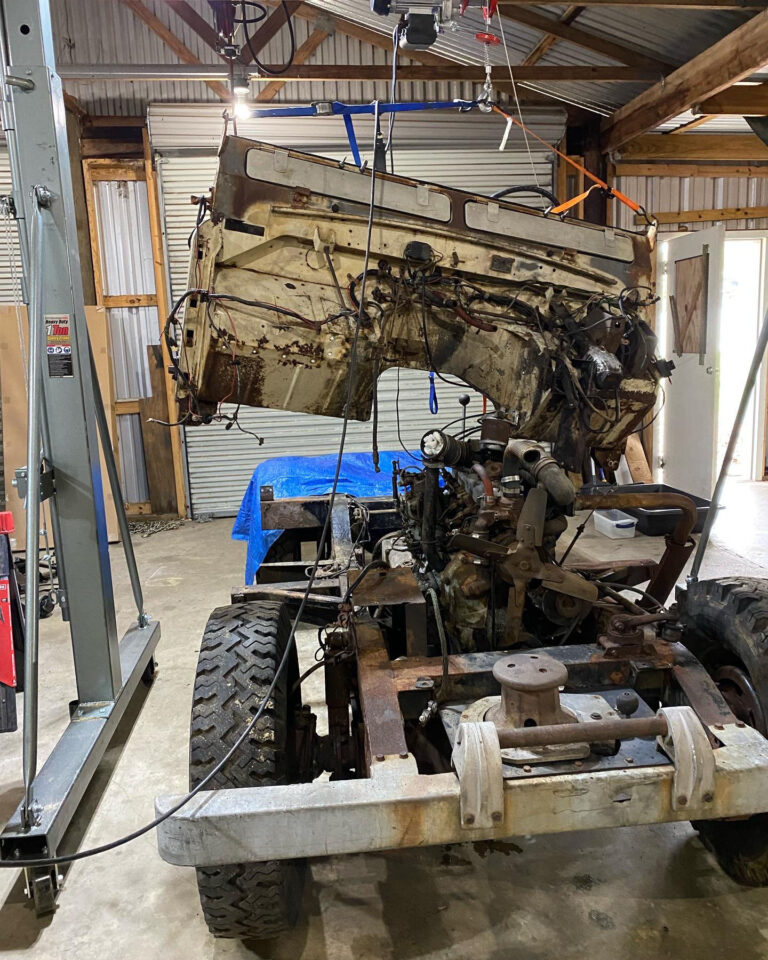
Despite what I had been led to believe, I soon learned that the brake system needed a complete redo, including lines, wheel cylinders, brake shoes and springs. The hand brake and clutch components also required replacement. The easiest way to accomplish this was to lift the body and expose the chassis.
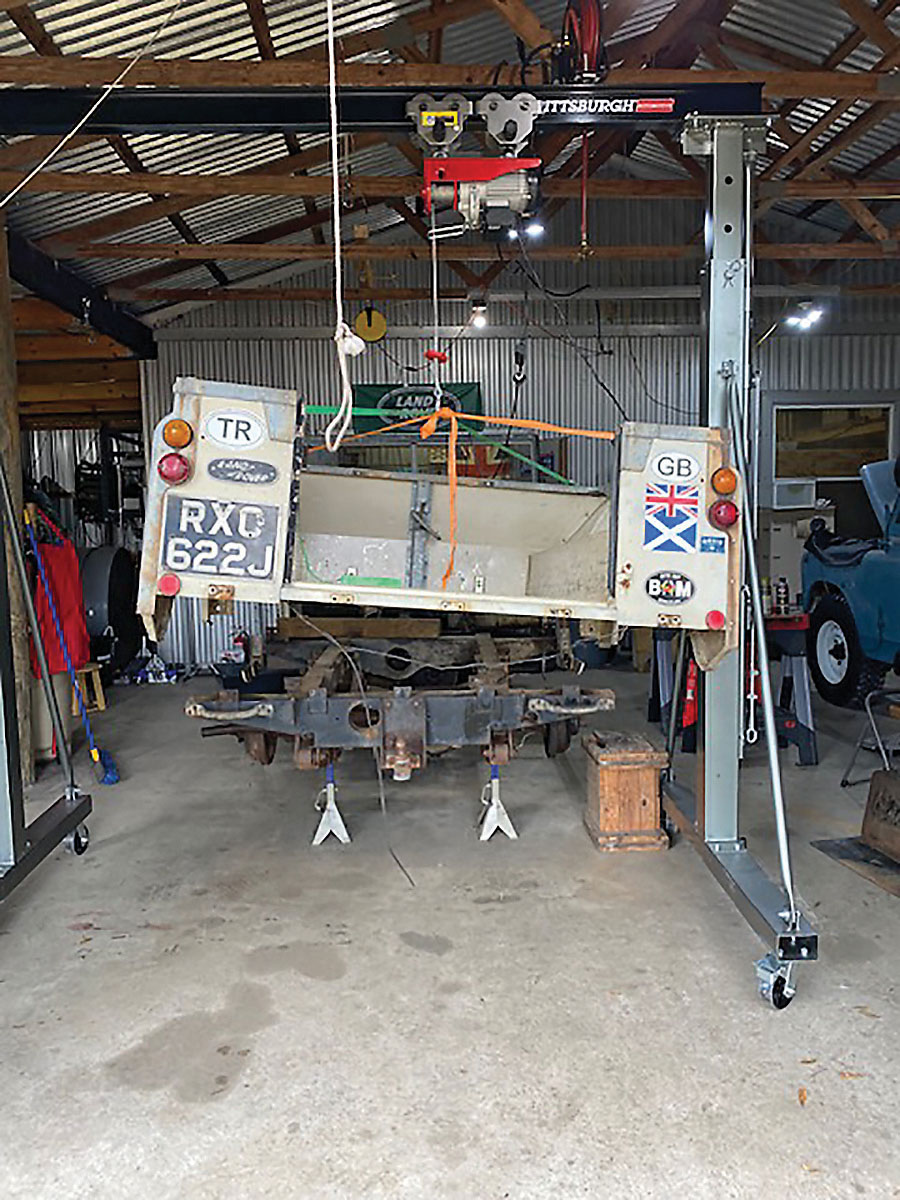
Once separated, I found so many issues I just started with a sandblasted chassis and worked upwards from there. There were many, many rabbit holes; virtually every component needed a rebuild. It made no sense to me to fix one thing but leave others when I was already so deep into it. The result was a complete “patina restoration.” I cleaned, painted, repaired or replaced every single part of the truck.
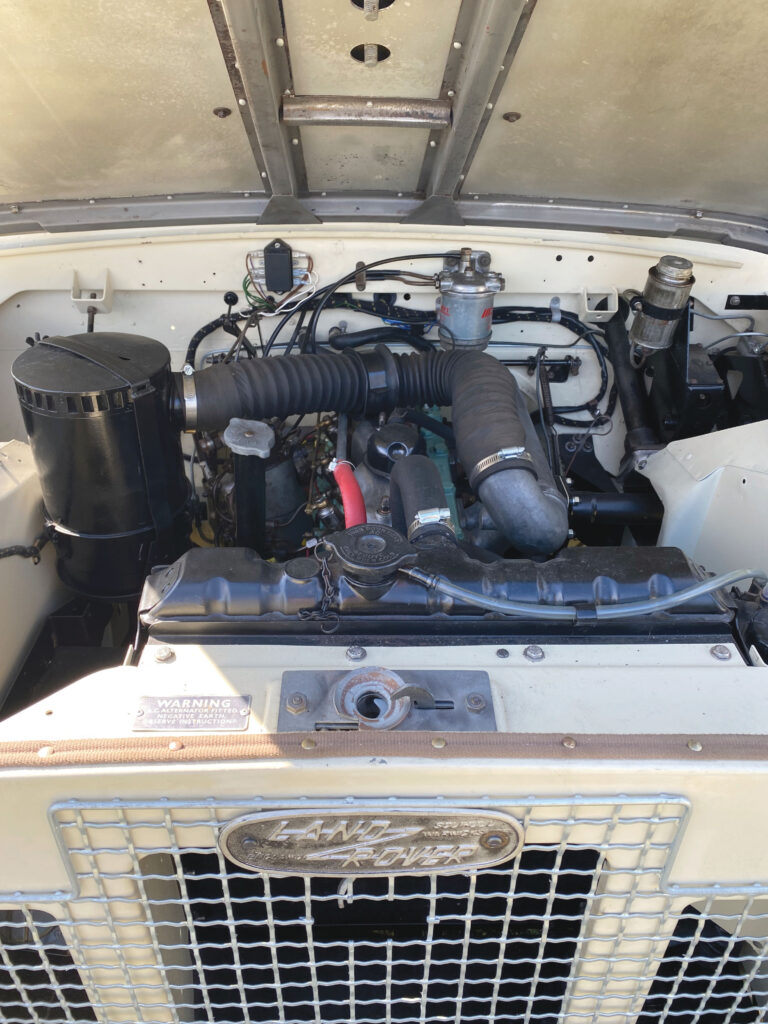
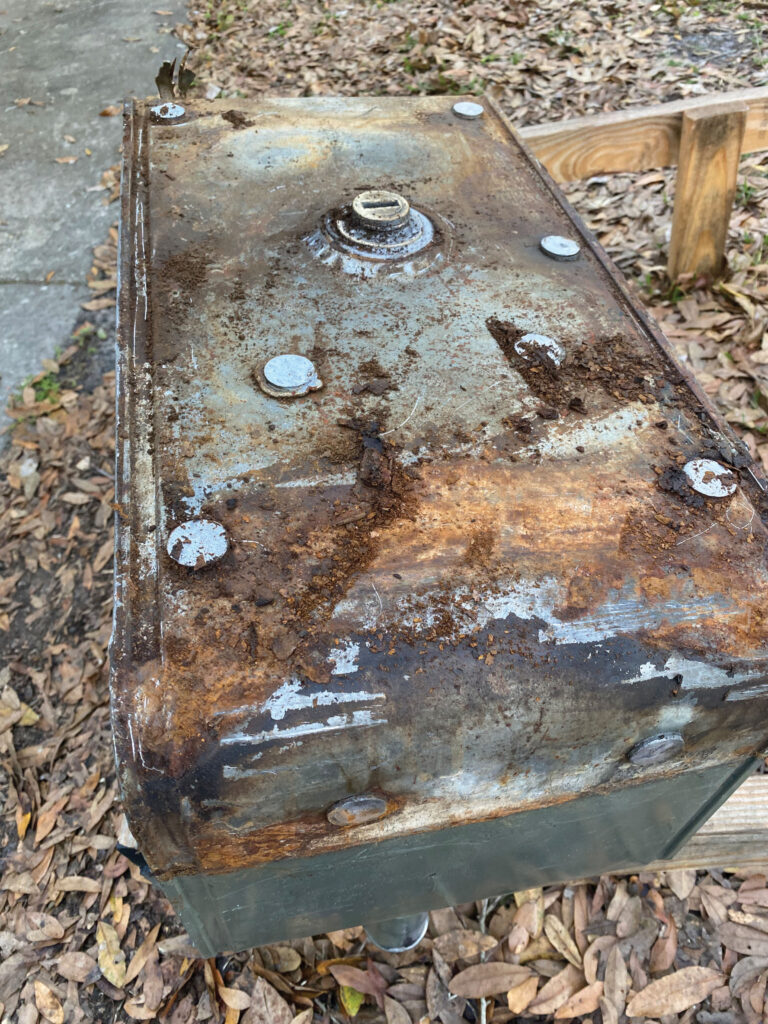
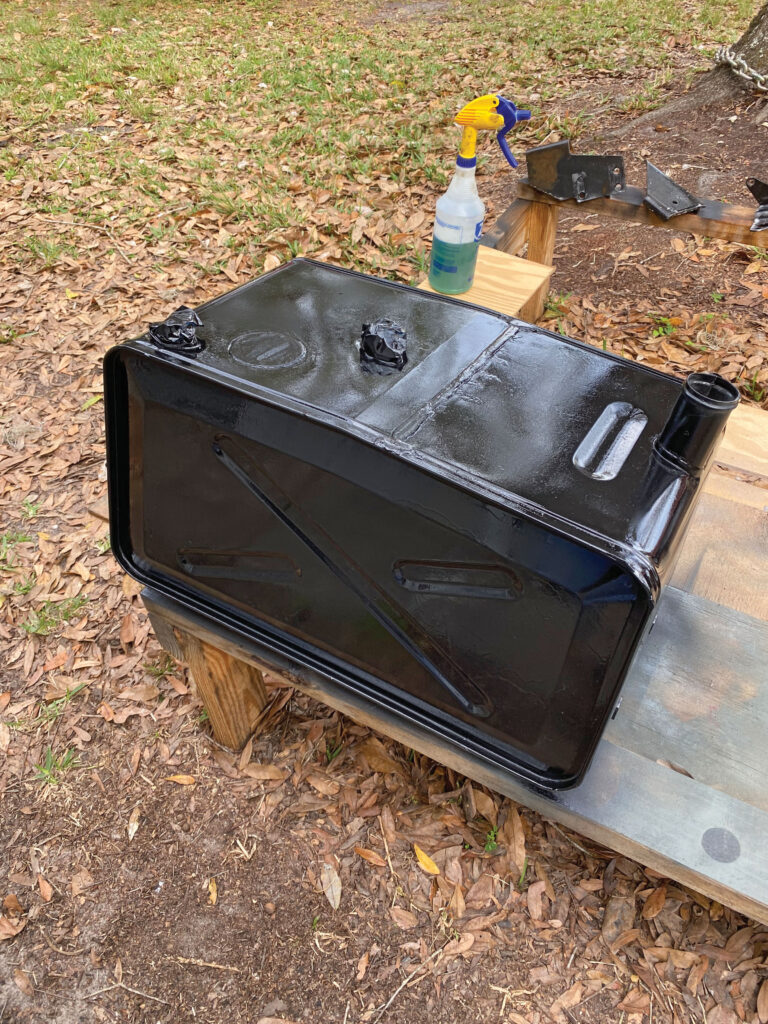
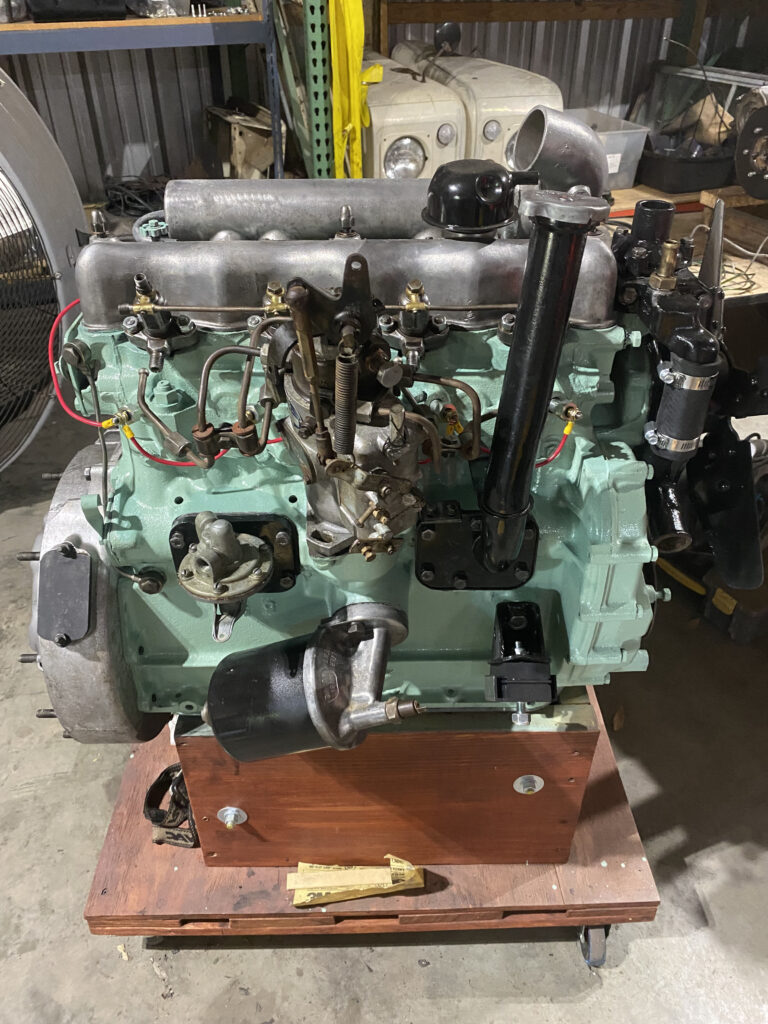
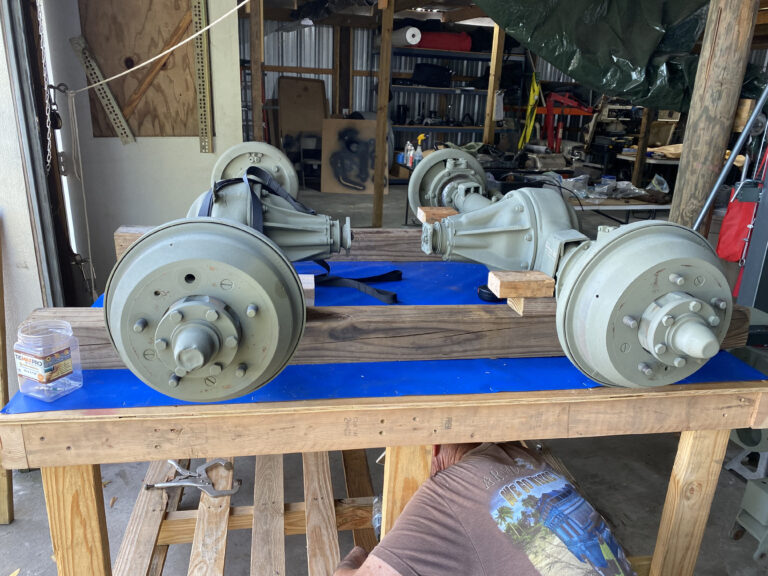
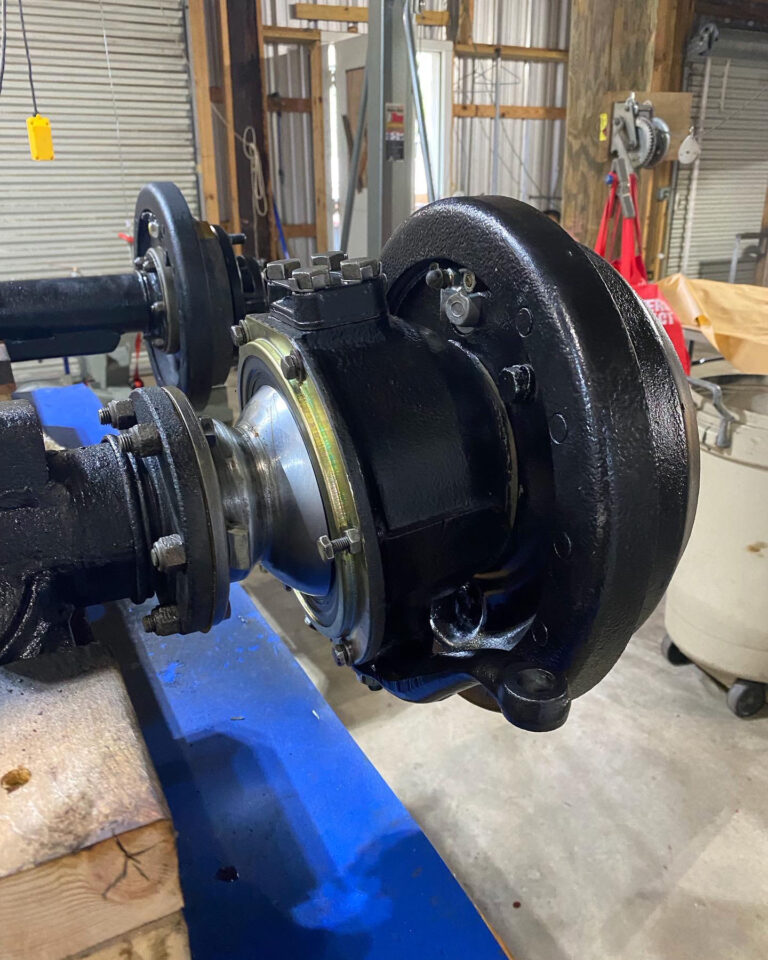
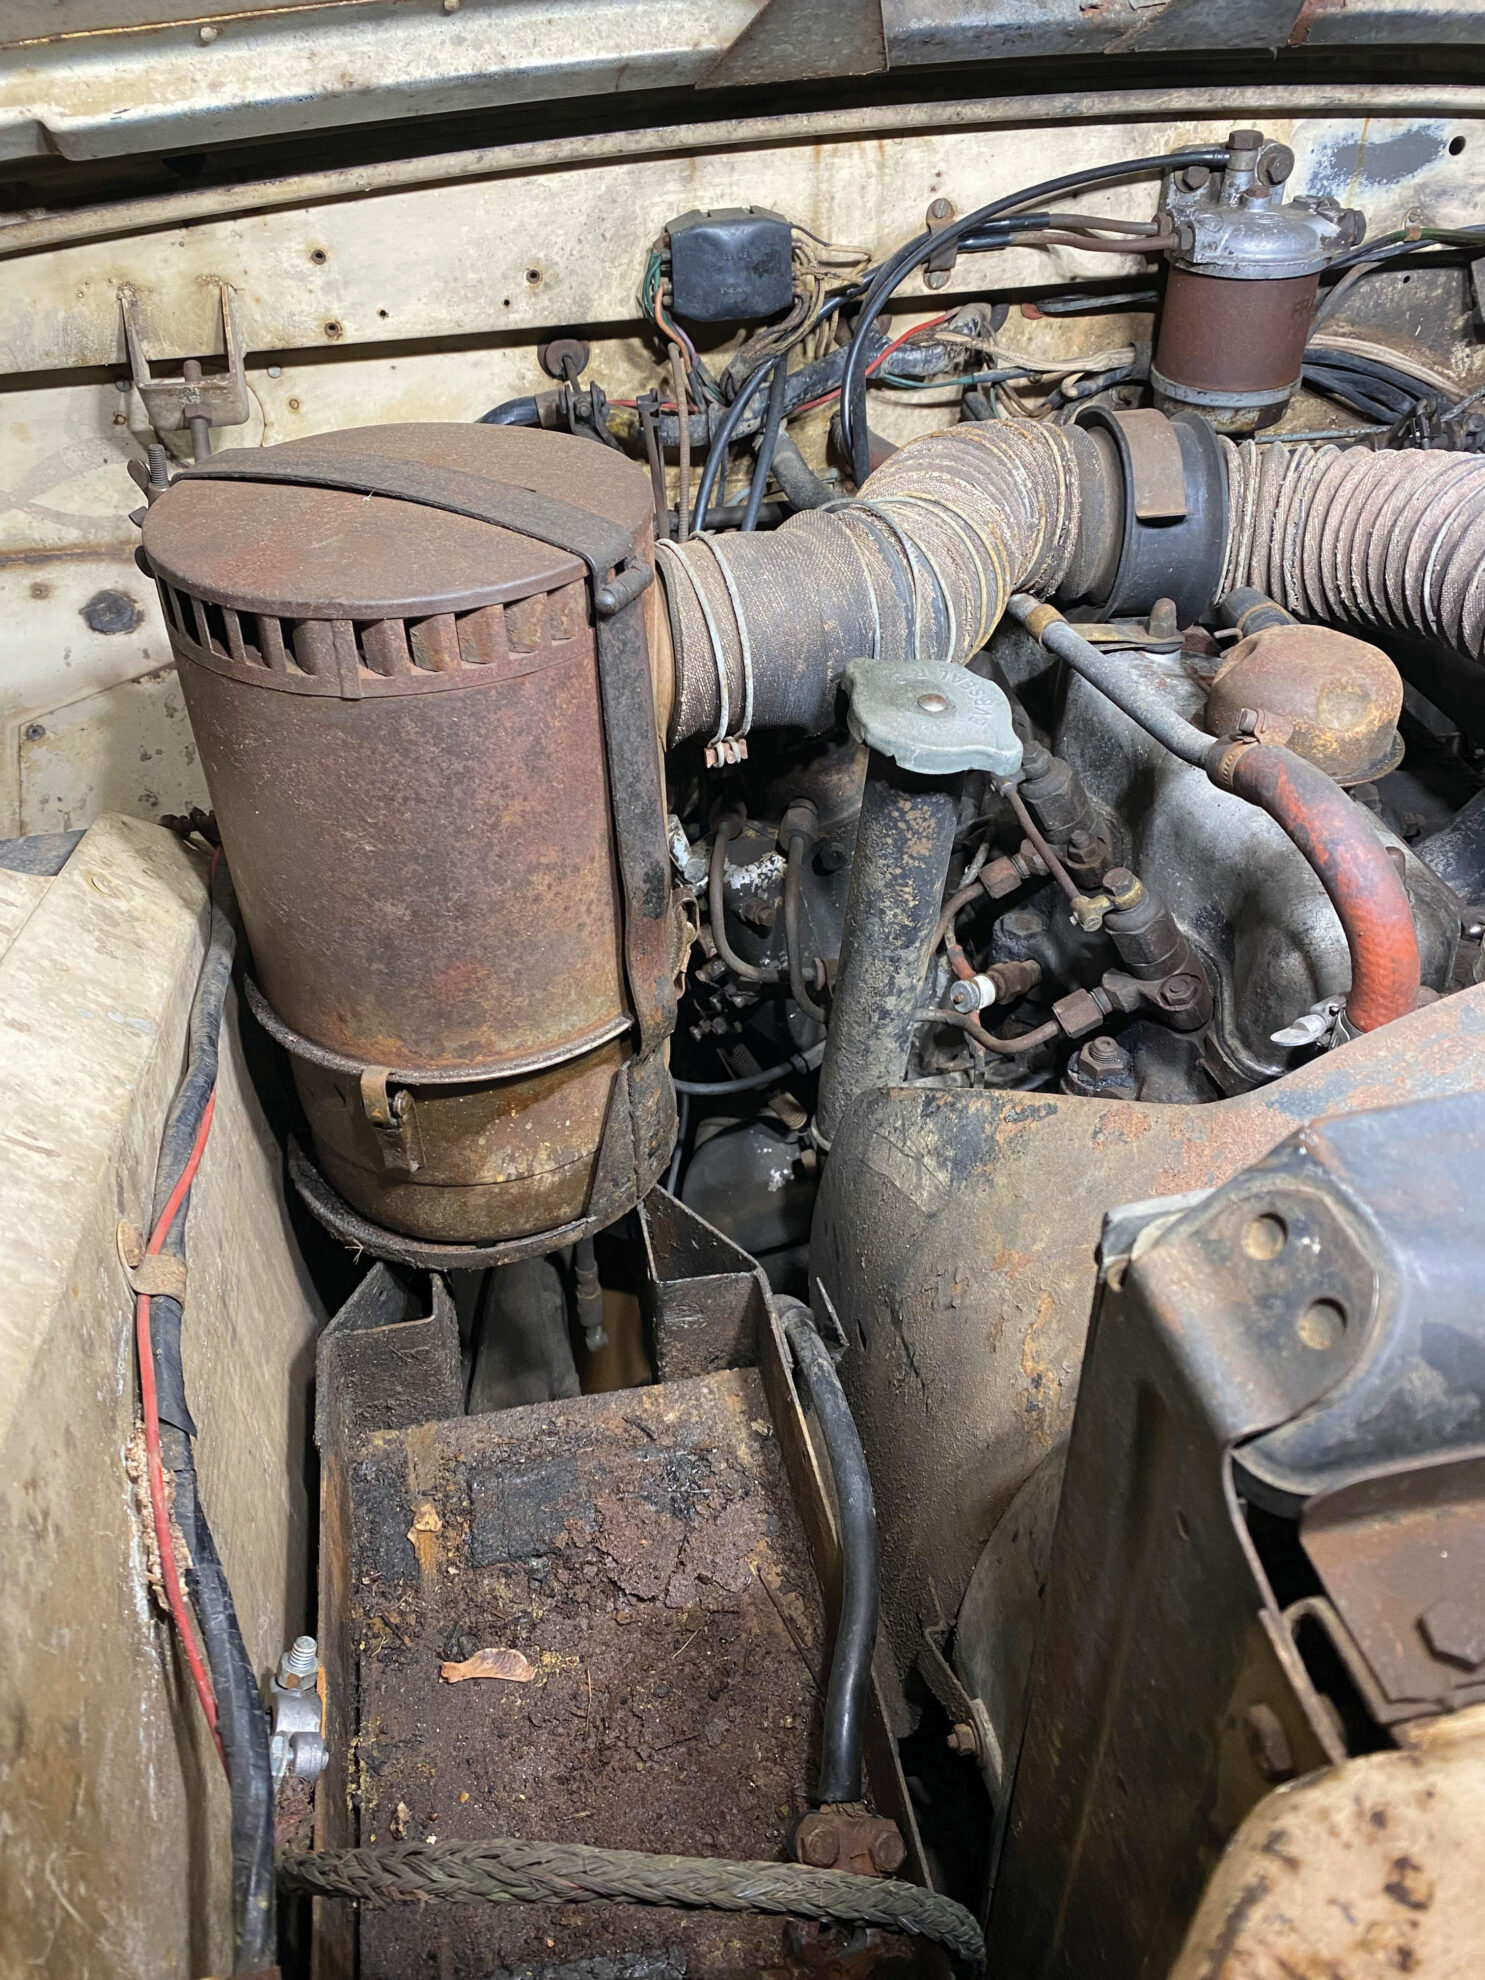
The engine received a new rear main seal, all new gaskets, new glow plugs (here I made one exception and put in the modern type), a new alternator and other parts. I had a new core installed inside the radiator. I rebuilt the swivel balls, cleaned the differentials and swapped them out front to rear (Series differentials are identical front and rear, but the latter generally have more wear.) I rebuilt both driveshafts and installed new seals. The fuel tank had pinholes so I sealed them up and replaced all the rubber hoses.
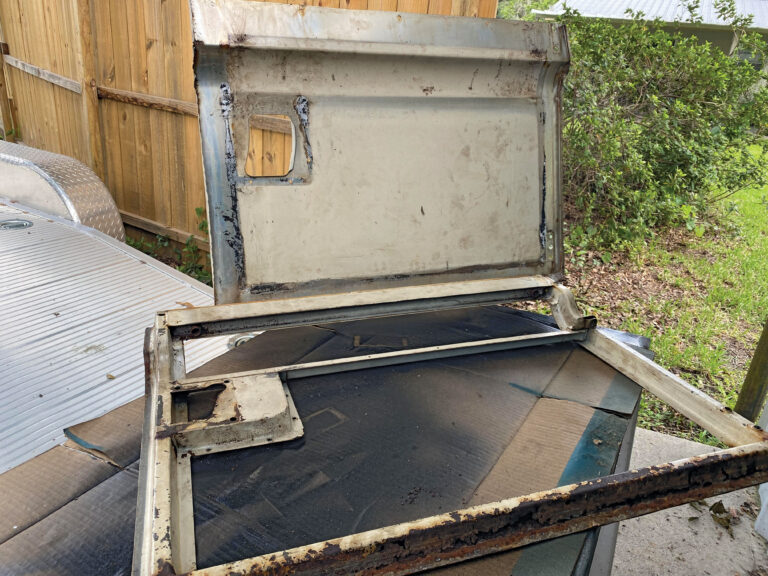
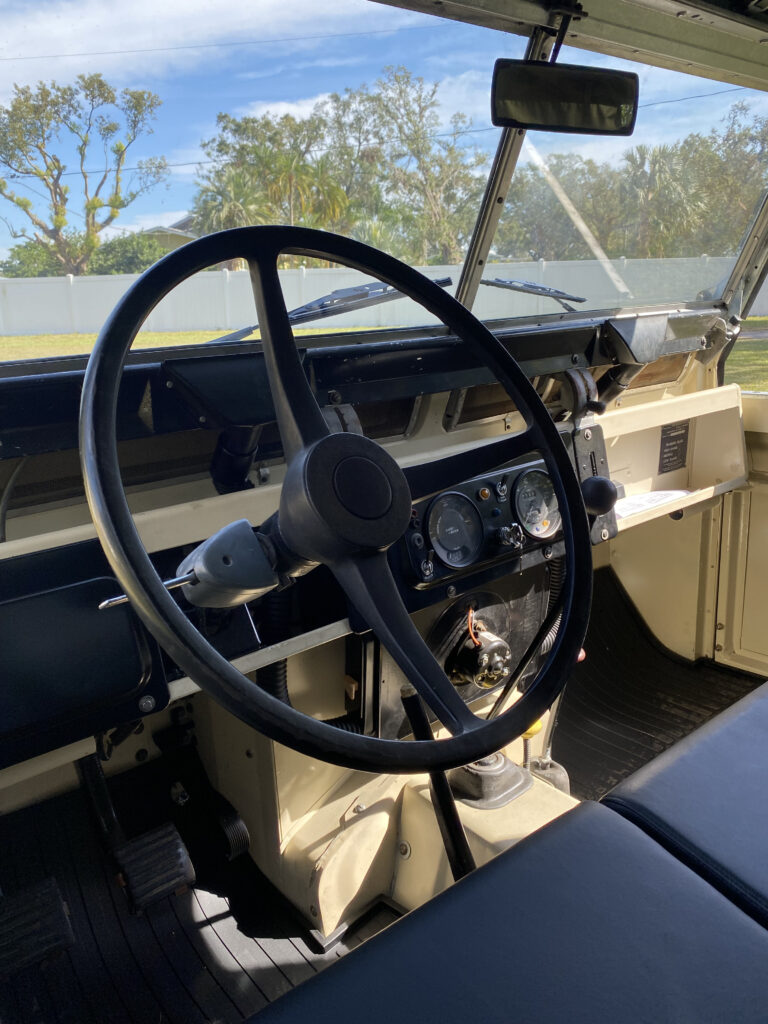
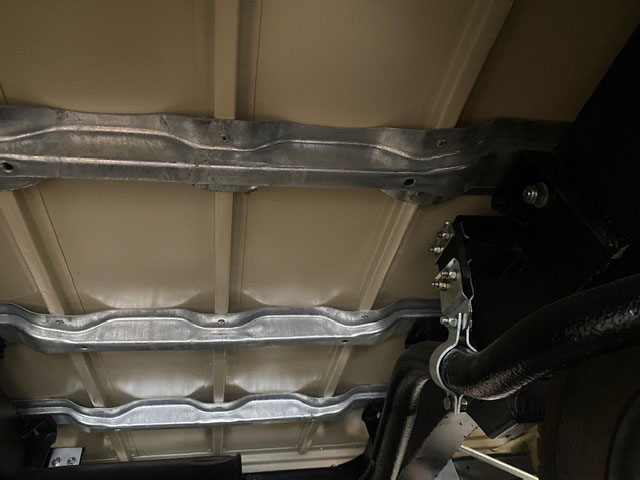
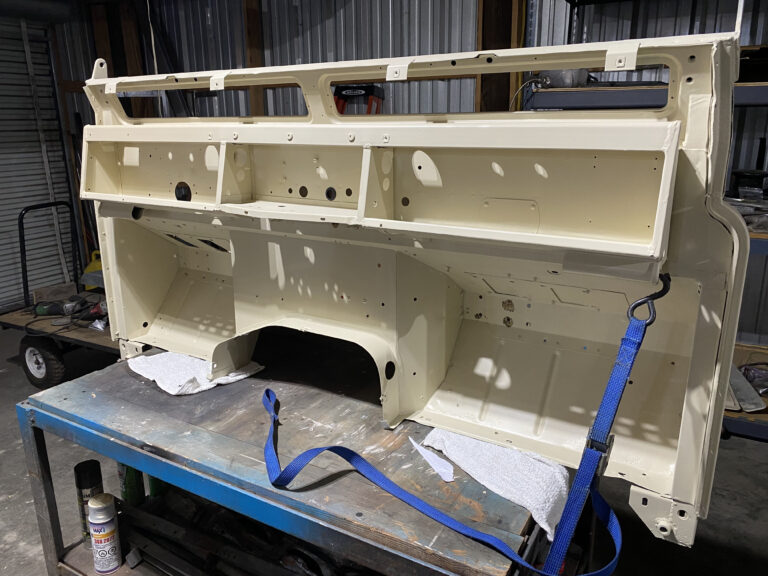
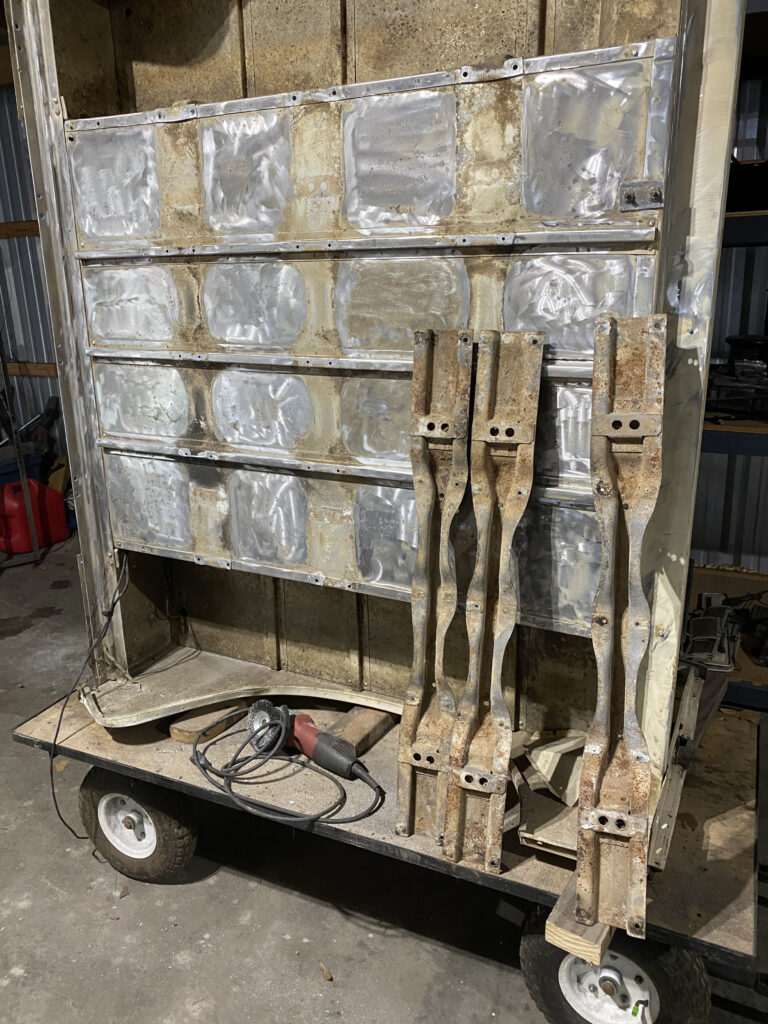
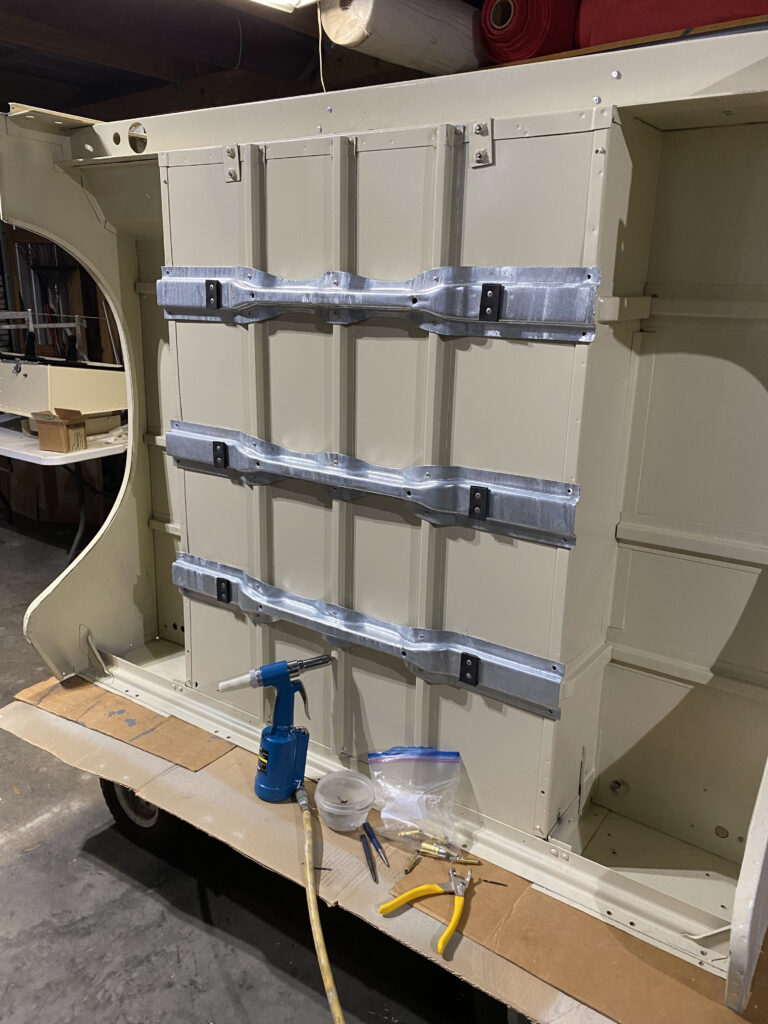
While the exterior of every panel remained untouched, I did galvanize or repaint each panel and tub support. The door bottom rails and door tops required welding and new tracks. The bulkhead had one hole in the left side A pillar repaired through welding; once completed, I sandblasted, zinc coated and repainted it. The windscreen needed one new glass panel,
new rubber seals and a fresh galvanizing.
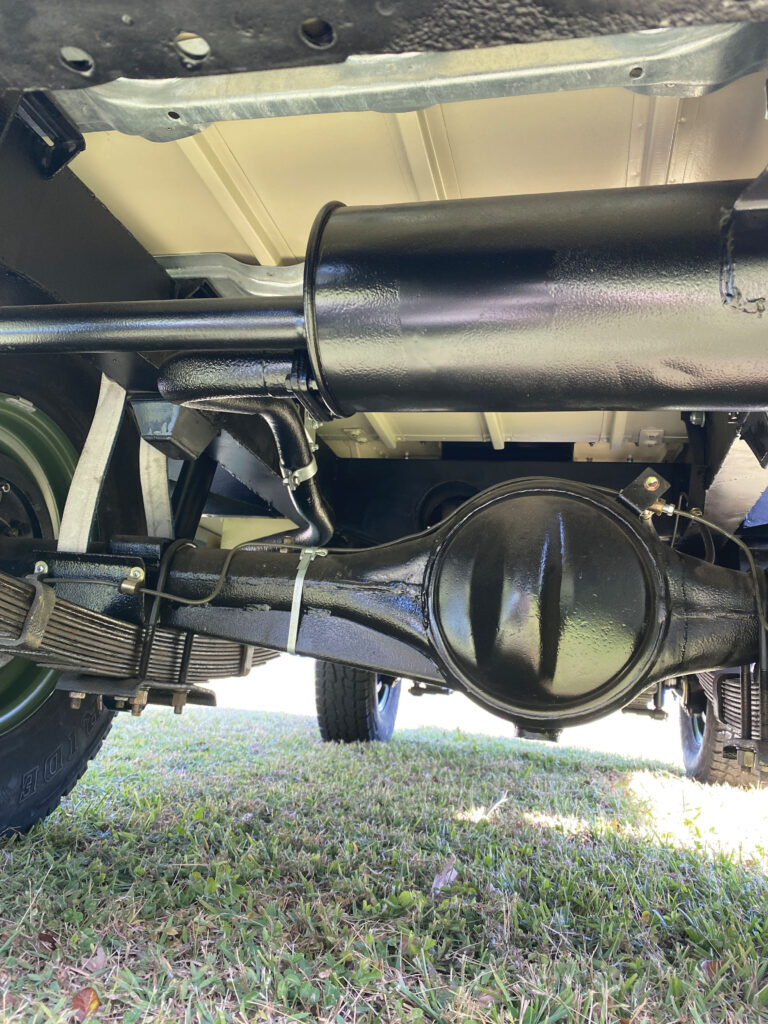
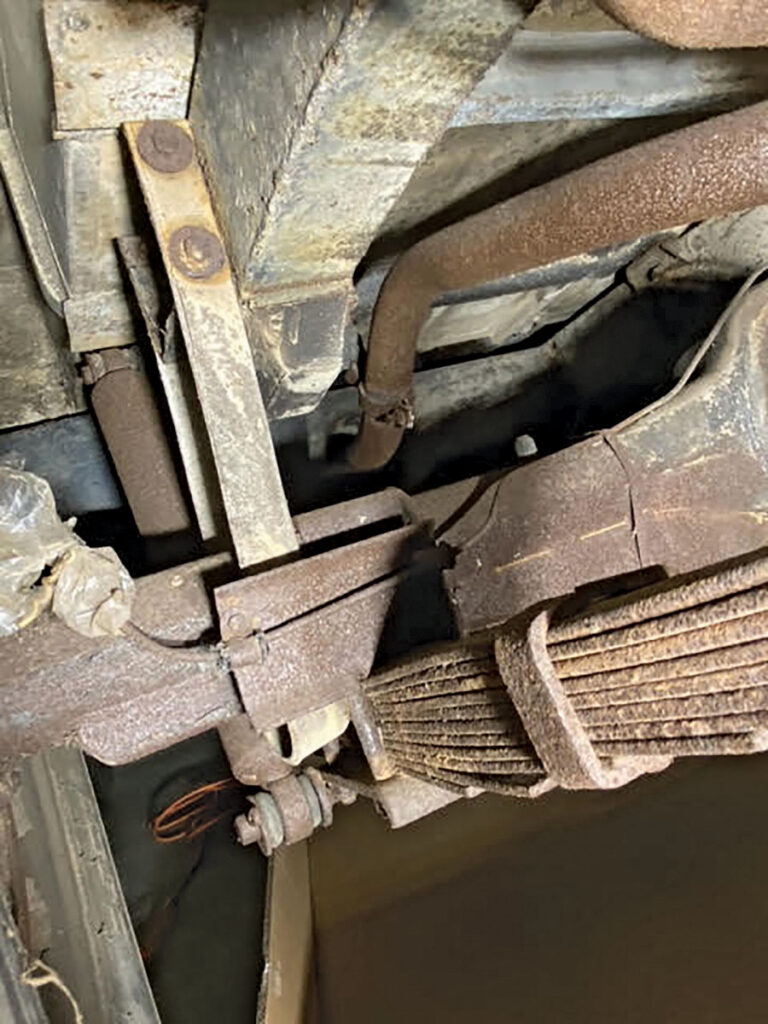
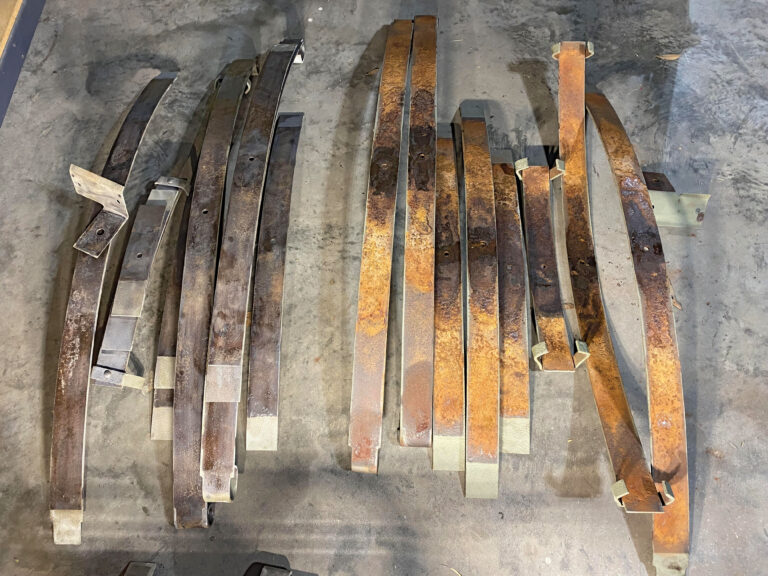
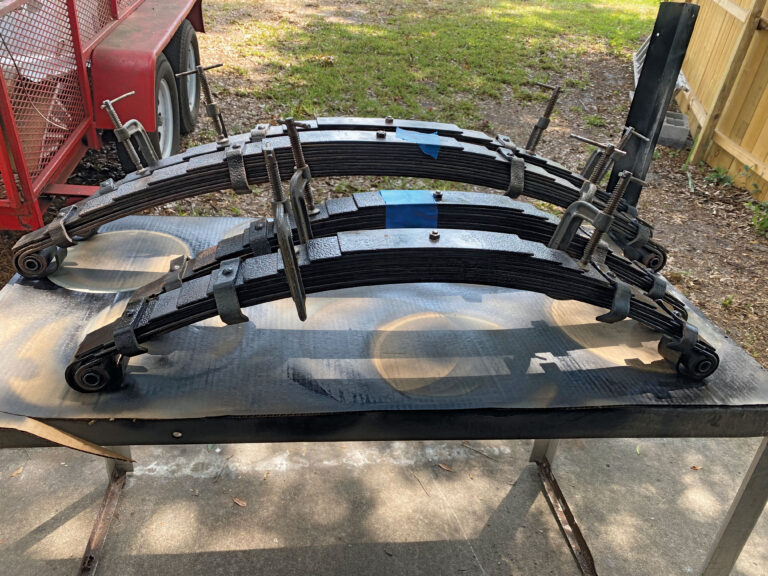
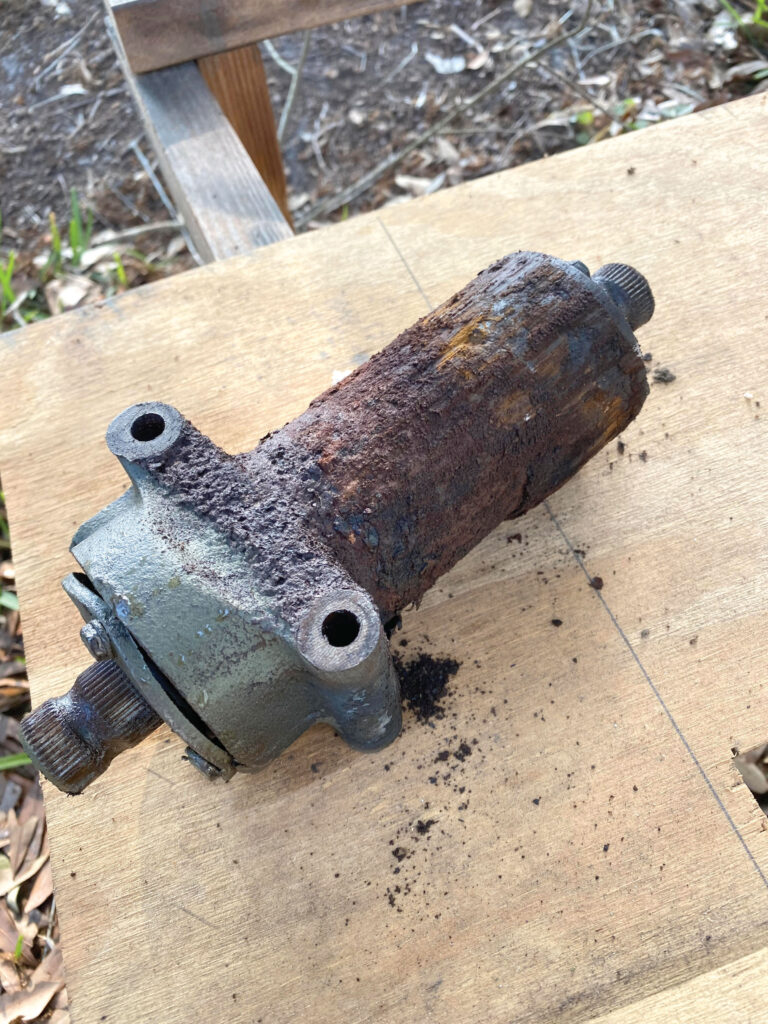
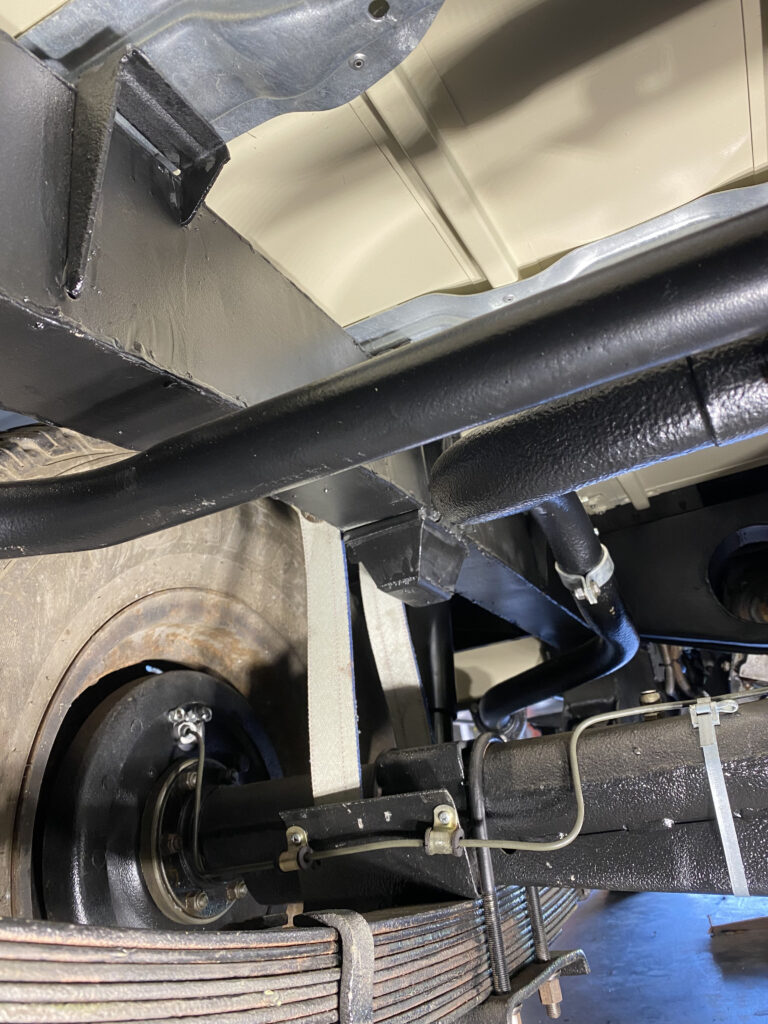
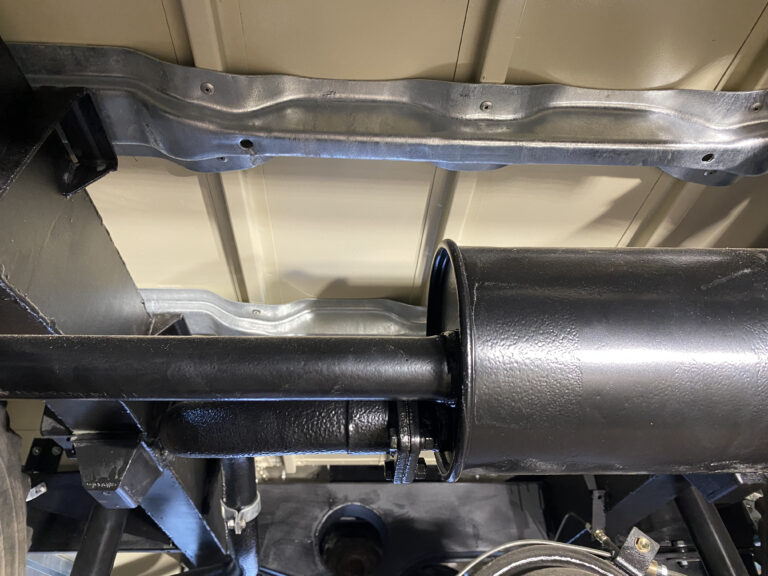
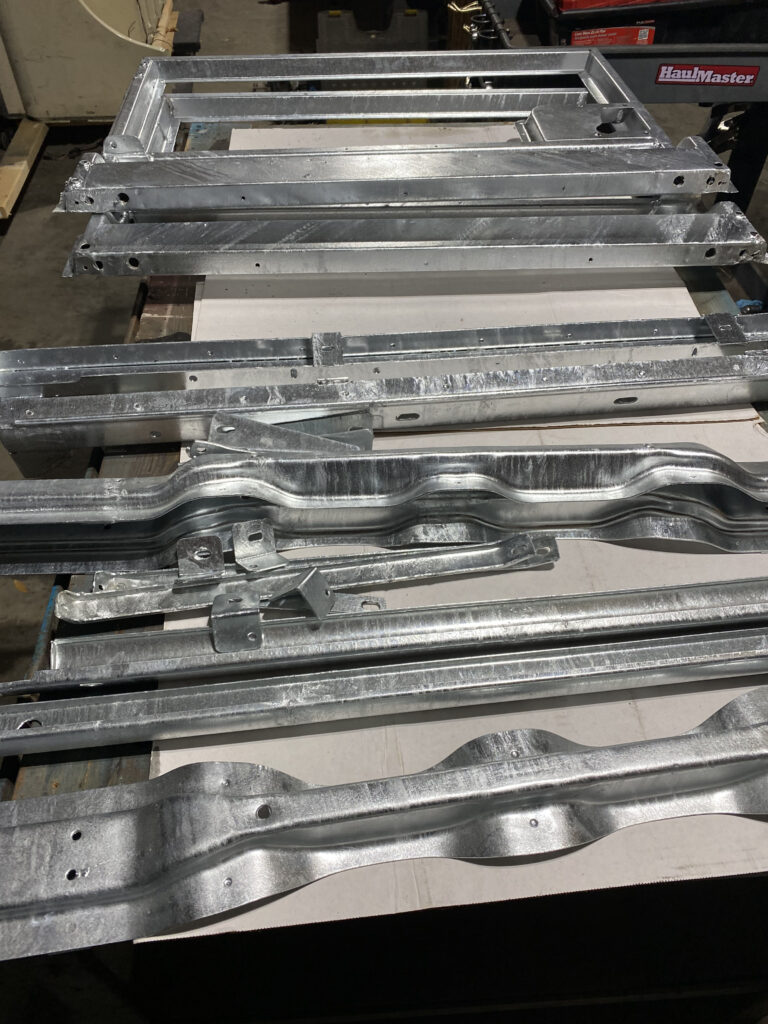
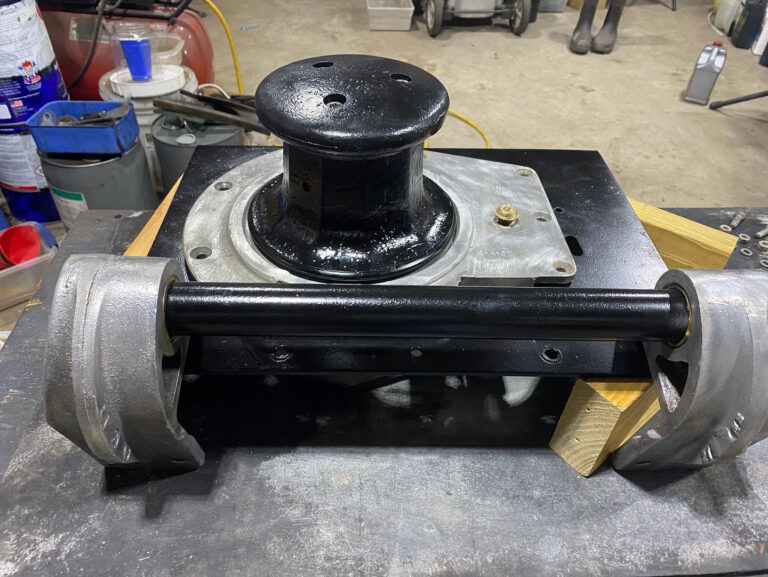
The front bumper was straightened and re-galvanized. The original capstan winch was refreshed. I made minor rust repairs to the steel breakfast panel (surrounding the grill), and while everything was apart, I replaced or refurbished all the steering components, from steering relay to tie rod ends. I also took apart all the spring packs (original 7 leaf) and wire brushed them, applying rust neutralizer, primer, then paint; I then reassembled them with copper grease in between each leaf, and installed new bushings and new U-bolts all around.
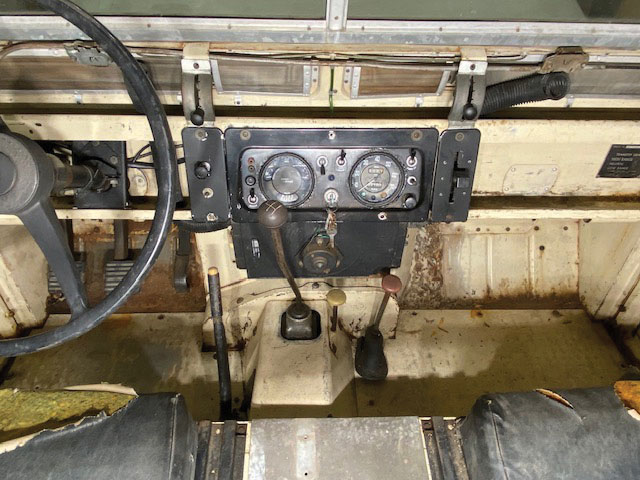
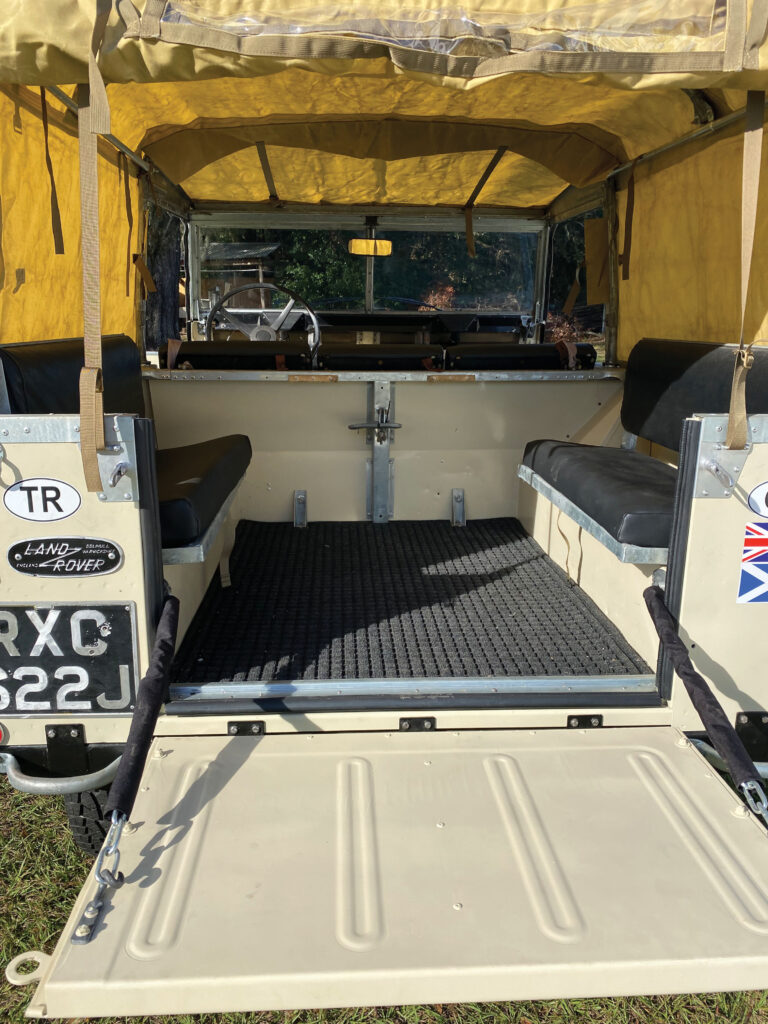
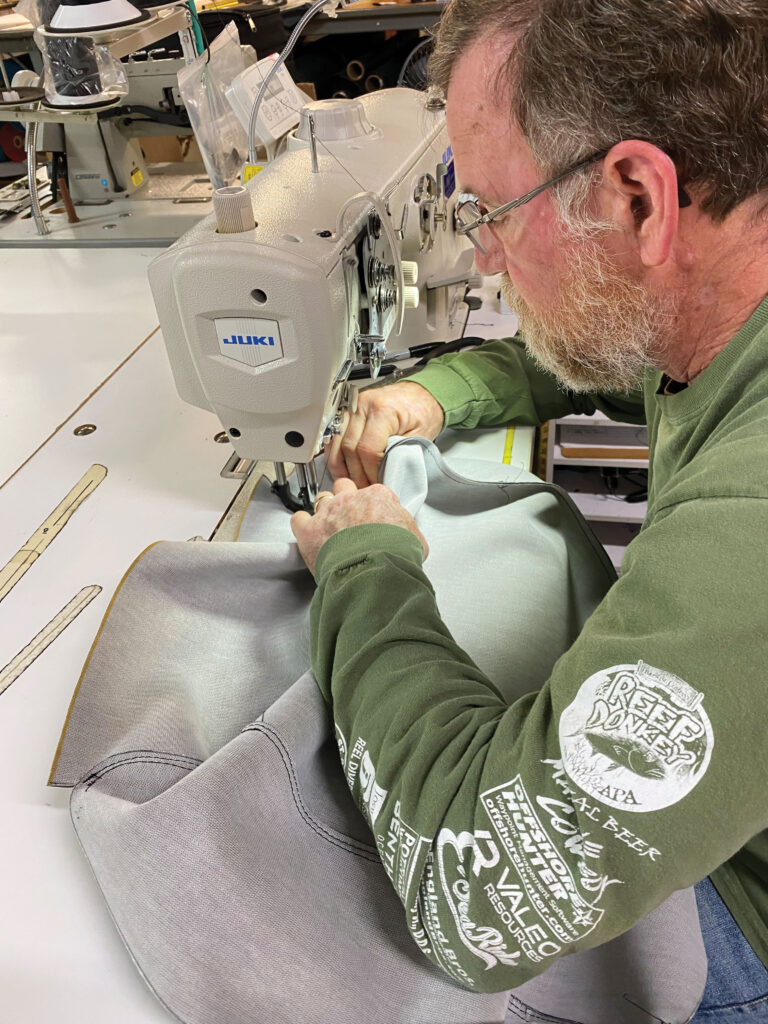
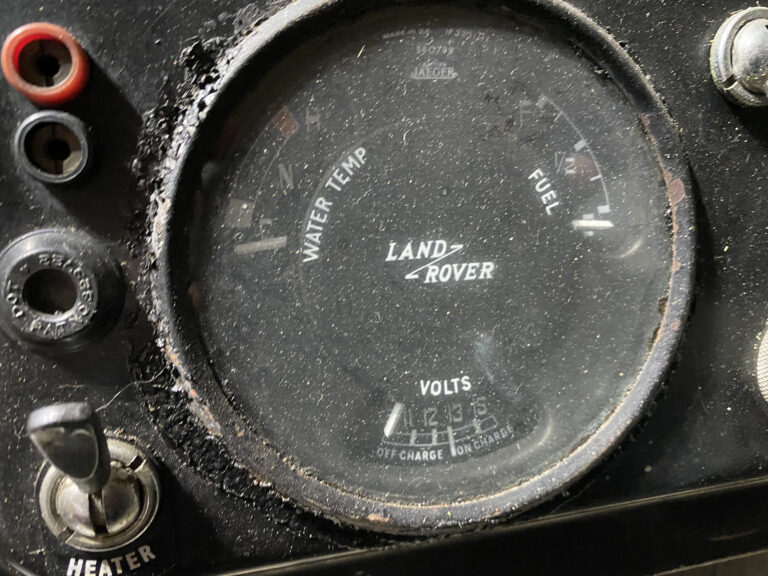
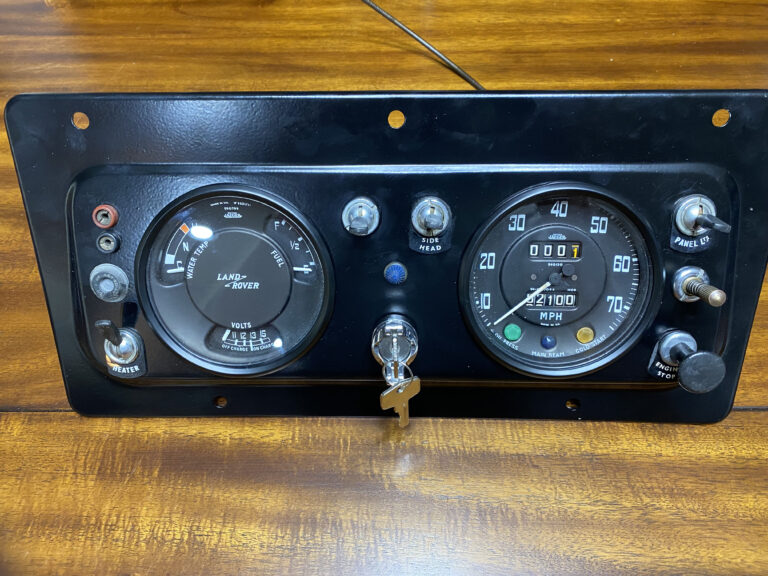
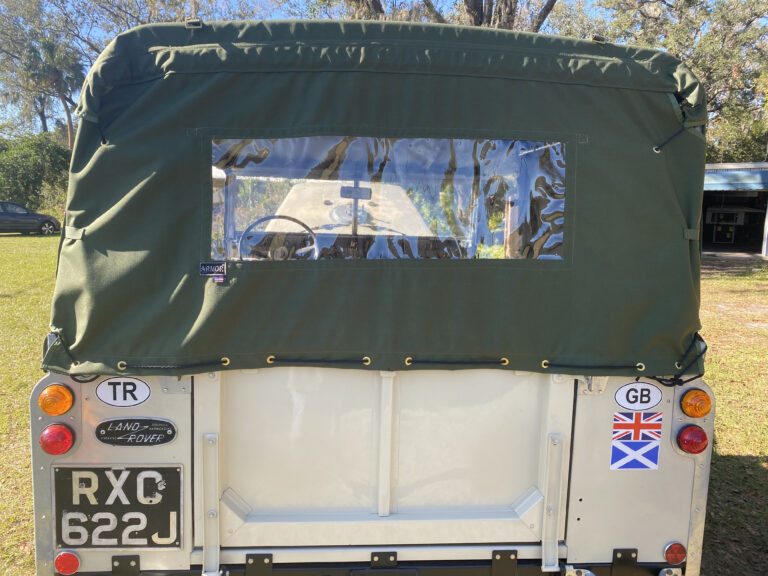
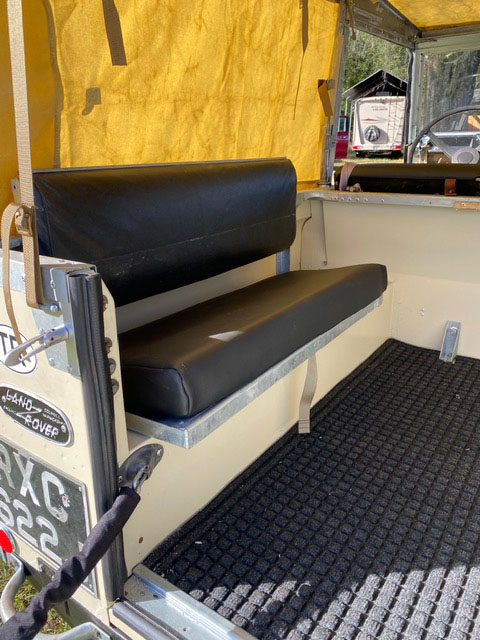
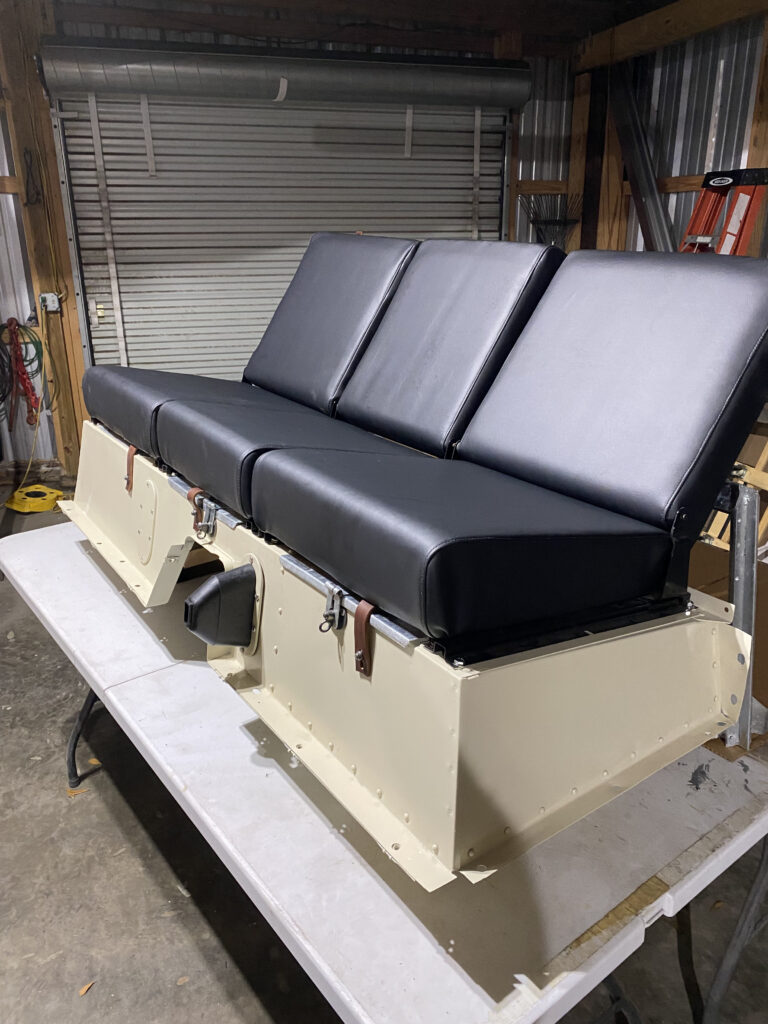
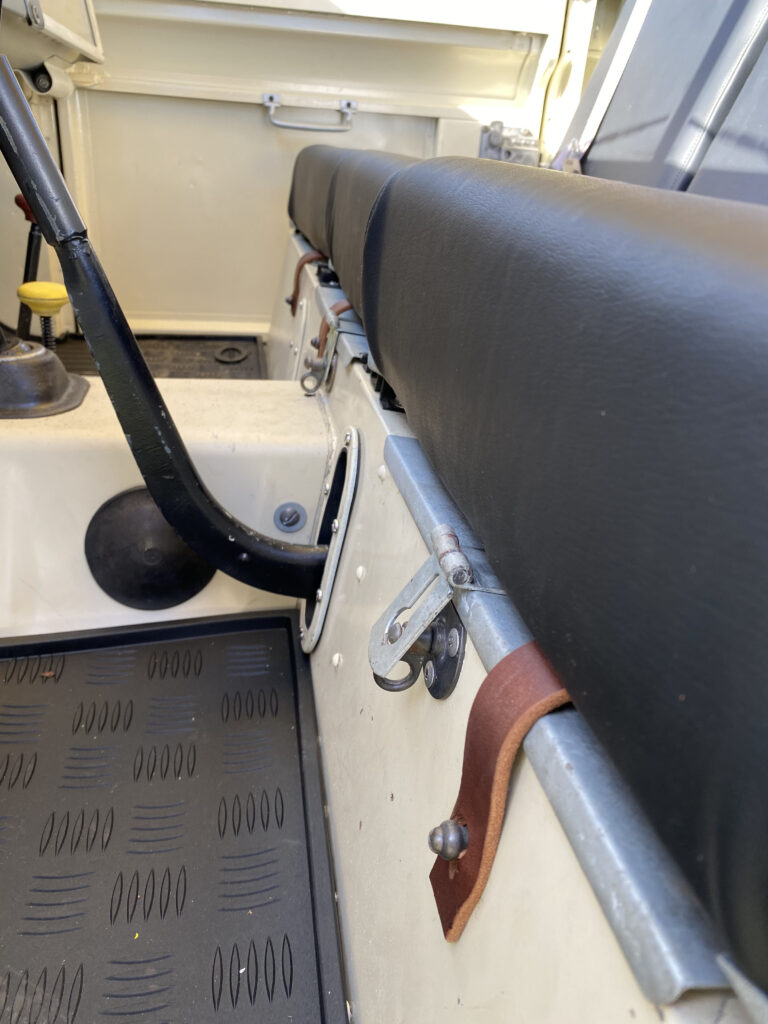
On the interior, I restored the gauges and gauge panel, along with the Smith’s heater. A new wiring harness from British Wiring was installed along with all new lighting components. As the owner of Armor Products, which manufactures textile products, I’m a master stitcher, so I re-upholstered all the seats and made a new canvas hood for the Land Rover (a must in Florida) that can be swapped for the hard top.
The Land Rover’s wheels had military-style, two-piece (not split) rims, designed to facilitate easy tire repairs. These likely came originally with the vehicle because the dam construction project was organized like a military exercise. I decided against upgrades such as dual-circuit braking system and parabolic springs (not to mention power steering) in deference to originality. While these upgrades would be desirable for a daily driver, they might fall to a future owner.
As I learned to work on my own Land Rovers over the past nine years, I’ve leaned on many knowledgeable friends, but on this project, I did 95% of the work alone. I spent countless hours watching Youtube videos, visiting Land Rover-related internet sites, and scouring manuals (I have all the best literature, but the two most useful have been the “Green Bible” and the Land Rover Series IIA Bonneted Control Parts Catalogue). Most of my parts support for this build came through Rovers North — a huge thanks for their support.
As is my style, I have not kept track of what this has cost me, although I have kept all receipts and will add it up after the job is complete. I have averaged 16–18 hours each week on the project for the past 18 months; you can make your own calculation of what that amounts to in labor hours, but it is safe to say, as I do to anyone who asks about a restoration, that one is unlikely to recoup the cost unless you don’t count your own man-hours. It has to be a labor of love. This Land Rover will pass on to a new steward one day, and hopefully, it will be one who appreciates its history in the building of the Keban Dam in Turkey.
Additional Photos: