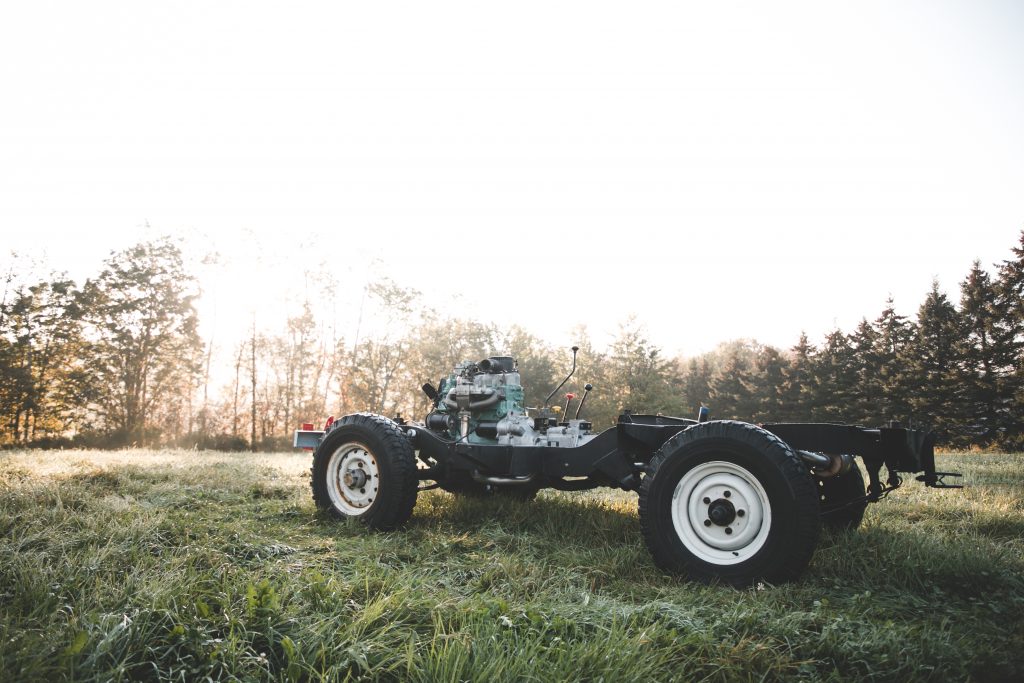
It has been a while since we last updated you on the project Series IIA 88″. For those of you that missed the introduction, the project is a one-owner 1968 Land Rover Series IIA 88′ that spent its entire life in Maine and was last on the road in 1991. In that article, we had assembled a new galvanized rolling chassis, on converted 109″ axles, painted the whole thing black, and dropped in a freshened up 2.25L engine.
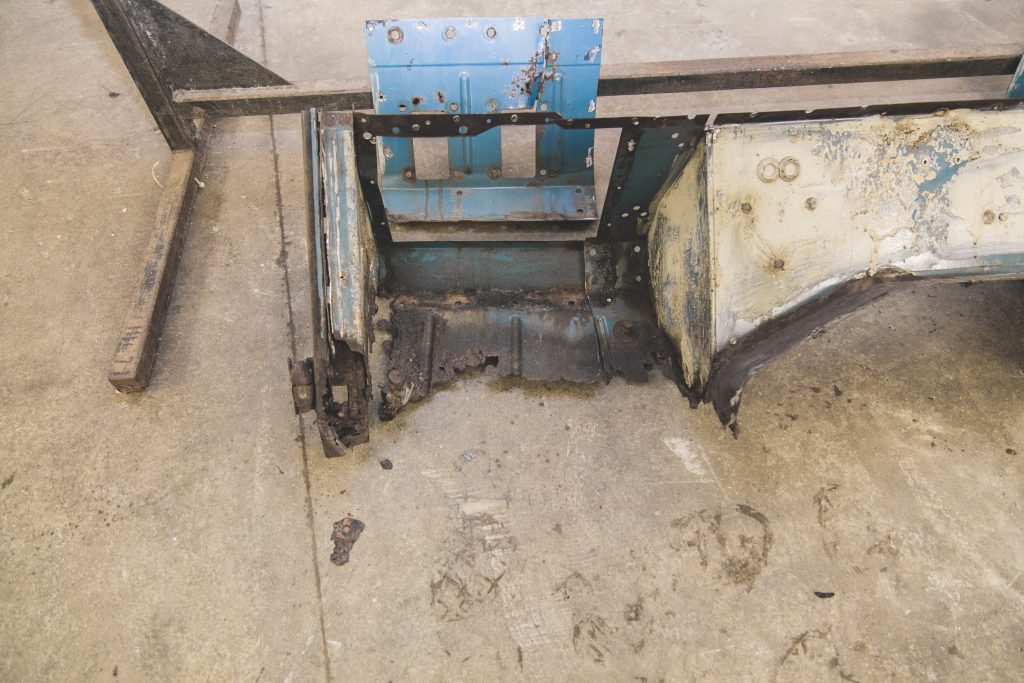
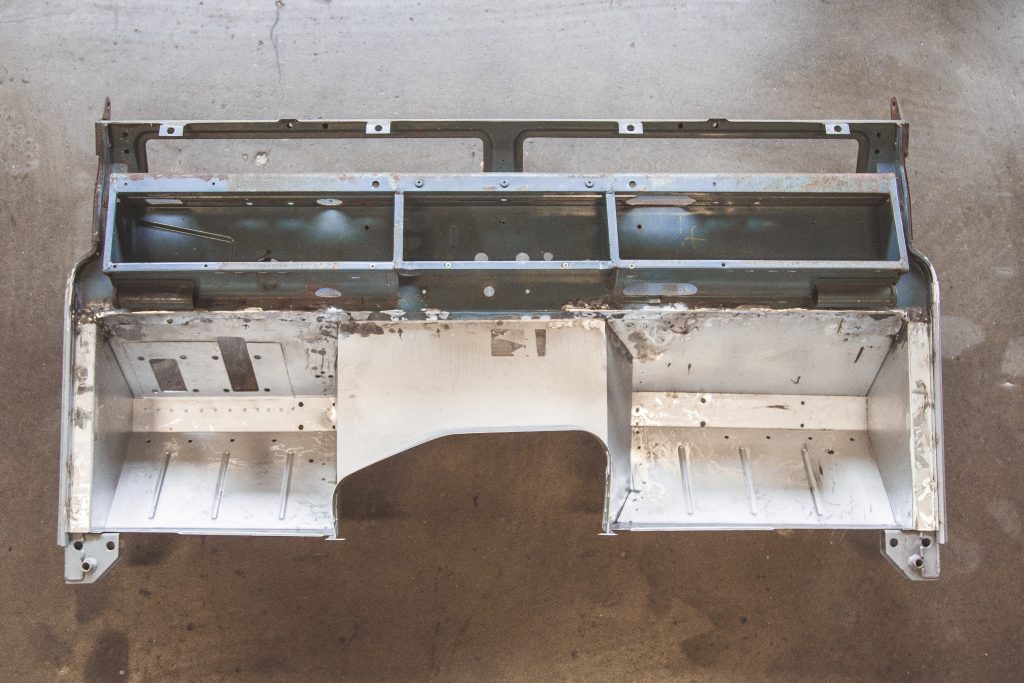
Then we were onto the part of the project where it wasn’t just easily bolting shiny new parts together. It was finally time to tackle the bulkhead, and to put it nicely, its abundance of ventilation. Here you can see what spending 50 years in New England had done to the steel Land Rover floor and bulkhead. It had finally reached the point where no matter how nice the floor mats were, you couldn’t pretend that there wasn’t a problem.
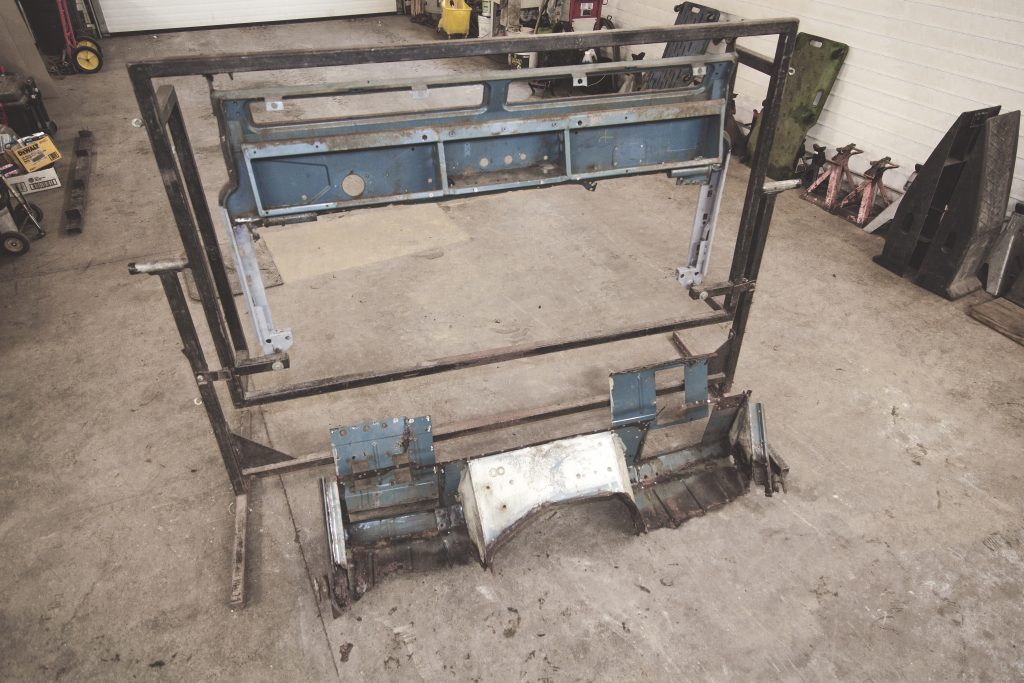
We started out by fitting the bulkhead to a jig to make 100% sure it stayed square. Then we spent a wonderful Saturday drilling out what felt like hundreds of spot welds to separate the salvageable top half from the rusted out bottom. You really start to wonder, after changing to your third new drill bit of the day, if the workers that assembled this truck over 50 years ago were paid by the spot weld. It’s the only to explain why there were multiple places where spot welds were actually touching their neighbor.
Once the floor was out, came the truly scary part, cutting out the doorposts. Both the driver and passenger door posts were so far gone, that the point where they bolted to the frame no longer existed. We would be welding in a brand new left-hand post you can get here and a new right-hand one that can be purchased here. This was the stopping point after the first weekend of working on the bulkhead in January. Trust me, you’re going to want to take your time. Set aside a full month of weekends for this part of the project.
When there wasn’t quite enough free time to work on the bulkhead itself, time was spent media blasting parts that could be saved and/or were no longer available. We wanted to maximize our time and make sure parts were ready to go back on when the bulkhead was ready.
If you’re thinking about starting or have started a Series project you will soon learn a few important things. NLA may only have three letters in it, but it is fact a four-letter word. Another is to invest in or befriend someone with a blast cabinet. You can buy one for under $200 at Harbor Freight and it will pay for itself within a few weeks getting it. Clean NLA parts for a Land Rover Series IIs go for big money on eBay, plus I’m not sure if it’s just me, but cleaning up a part that seemed too far gone is incredibly fun and satisfying.
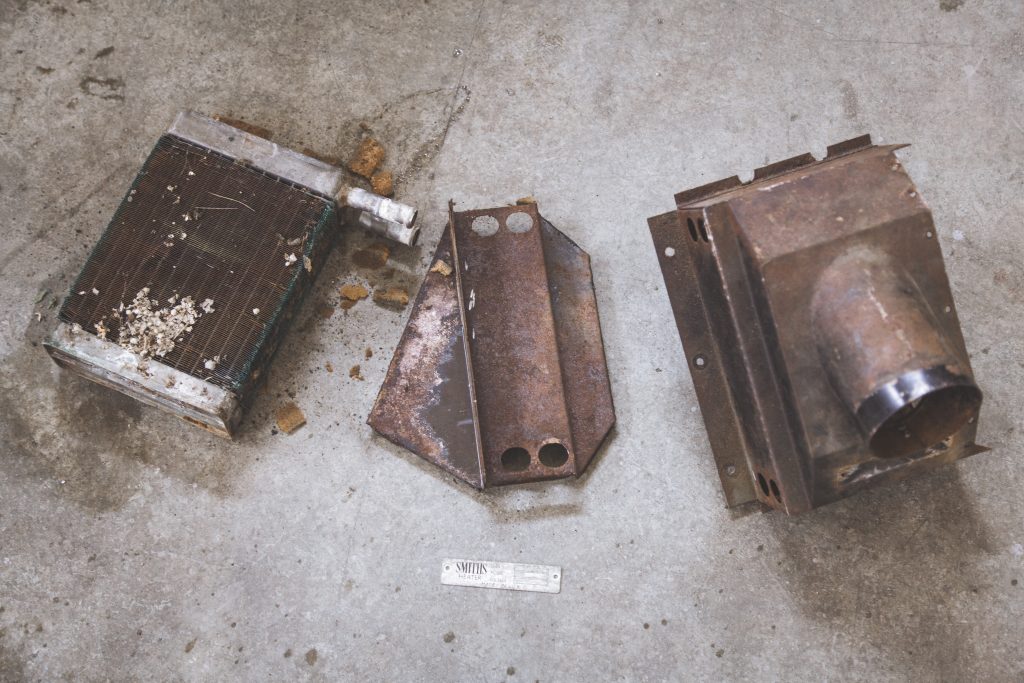
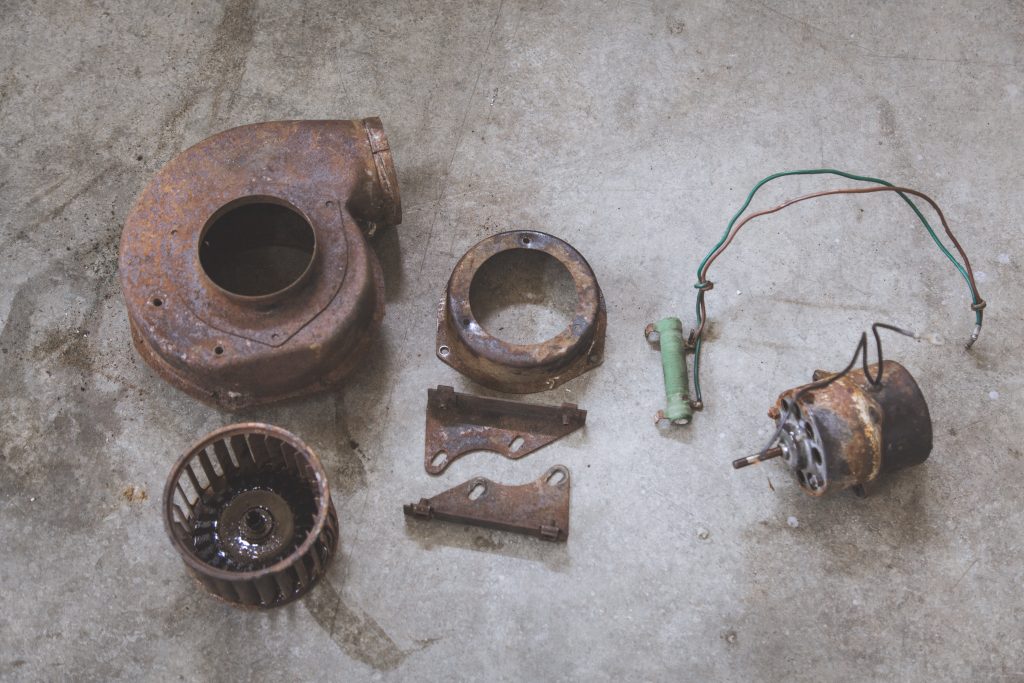
Here you can see a few of the parts that look like they should have gone in the bin but were saved with just a few hours with media blasting.
The heater box cleaned up pretty well after the mouse condo was removed and it was blasted, as you will see in later photos. Since Rovers North sells new heater cores we weren’t going to waste our time trying to clean up a core that would probably just start leaking anyways. The electric motor seemed to be in good condition and cleaned up fine, but if yours isn’t so lucky, you can buy a replacement motor and fan here.
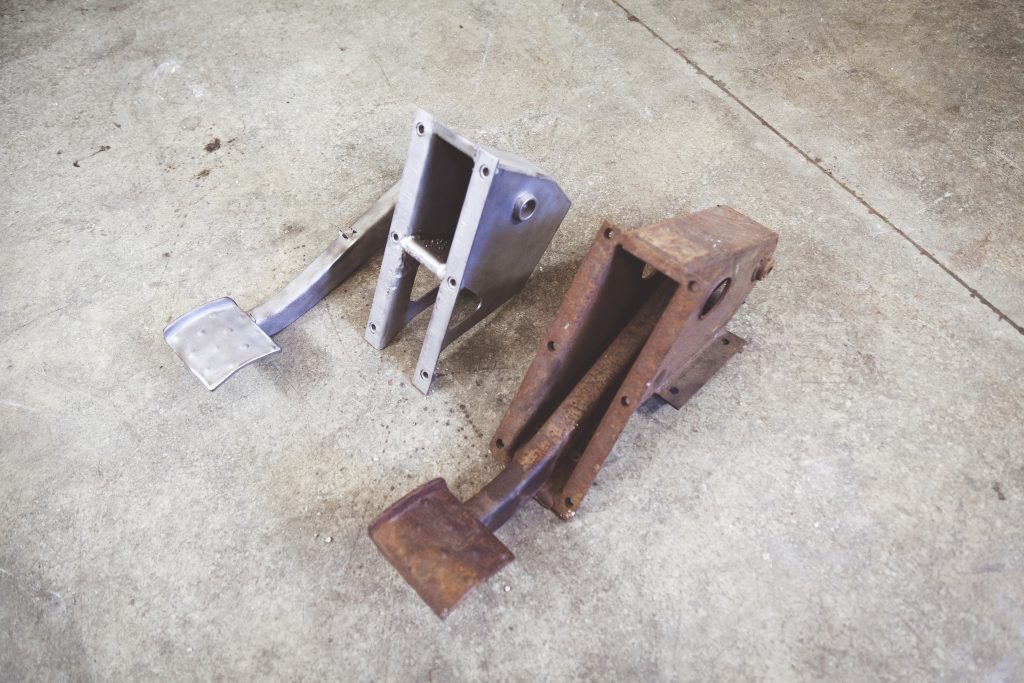
Here is a good example of a before and after shot of a part that came out of the cabinet.
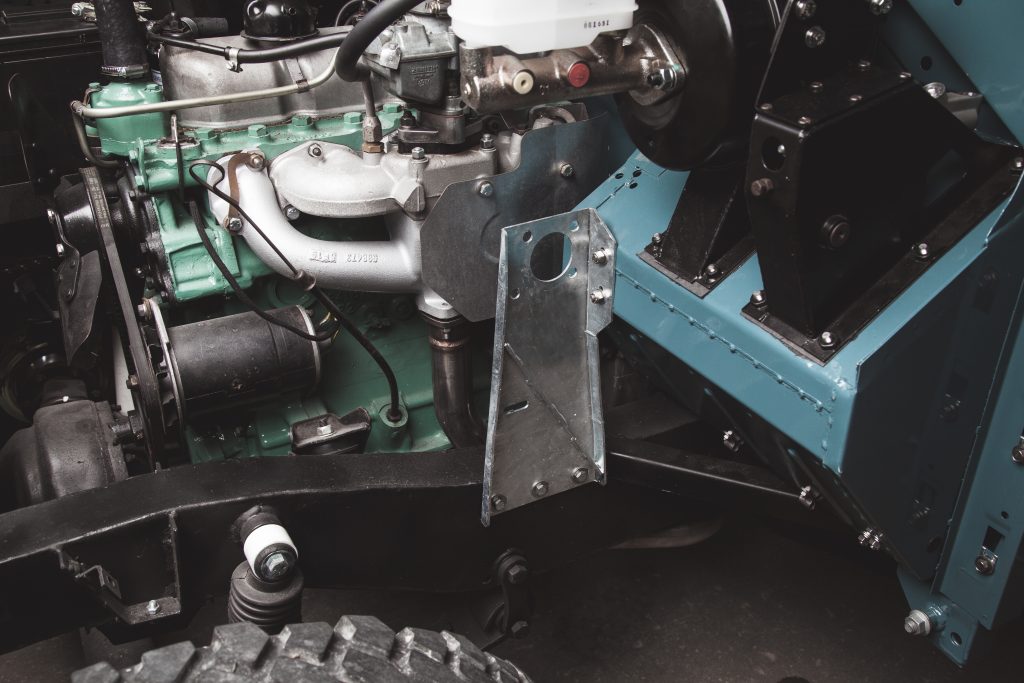
The cleaned up part is the original clutch pedal from the Series IIA. The rusty pedal is one of the few not original upgrades planned for the project truck. As some of you may have noticed it is a brake pedal assembly from a Series III which has two benefits over the original pedal box: First, the IIA will now have a dual zone braking system, so if there is a hole in a brake line, the truck will only lose half of its brakes instead of all of them. Second, the Series III brakes come with a fancy vacuum assisted brake booster to make coming to a stop even easier. If you add in the 109″ brakes to the vacuum assist, this should be one of the best stopping 88s there is. The only downsides to this swap are you will have to upgrade to a Defender style clutch master cylinder or relocate and cap off the clutch fluid reservoir. You will also have to notch out your driver wing to make room for the brake booster and expand the pedal opening on the bulkhead to fit the longer pedal throw.
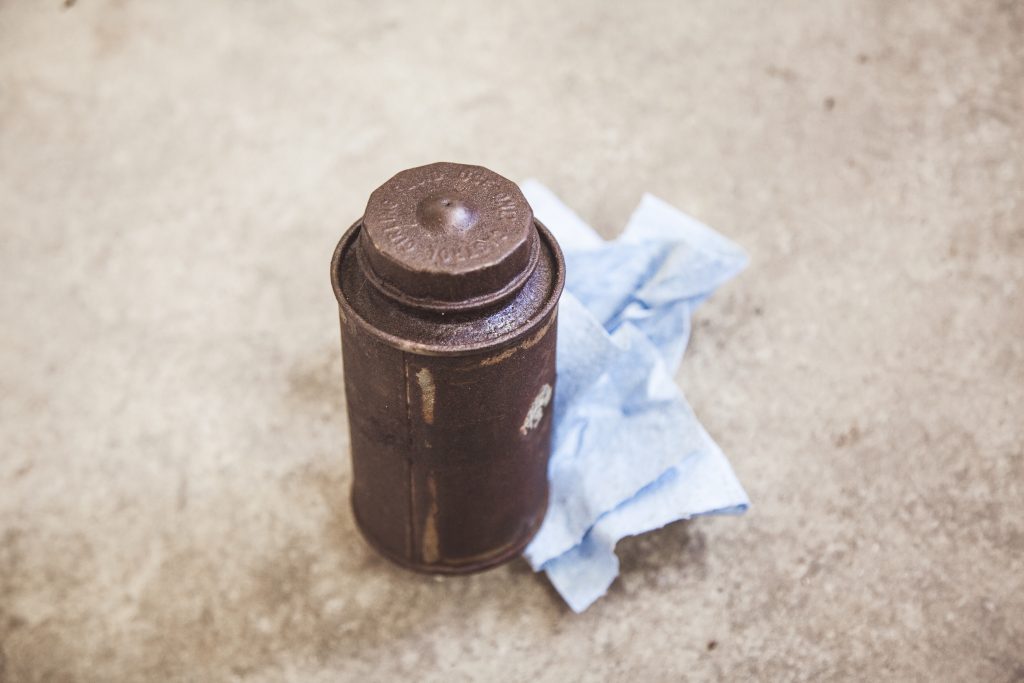
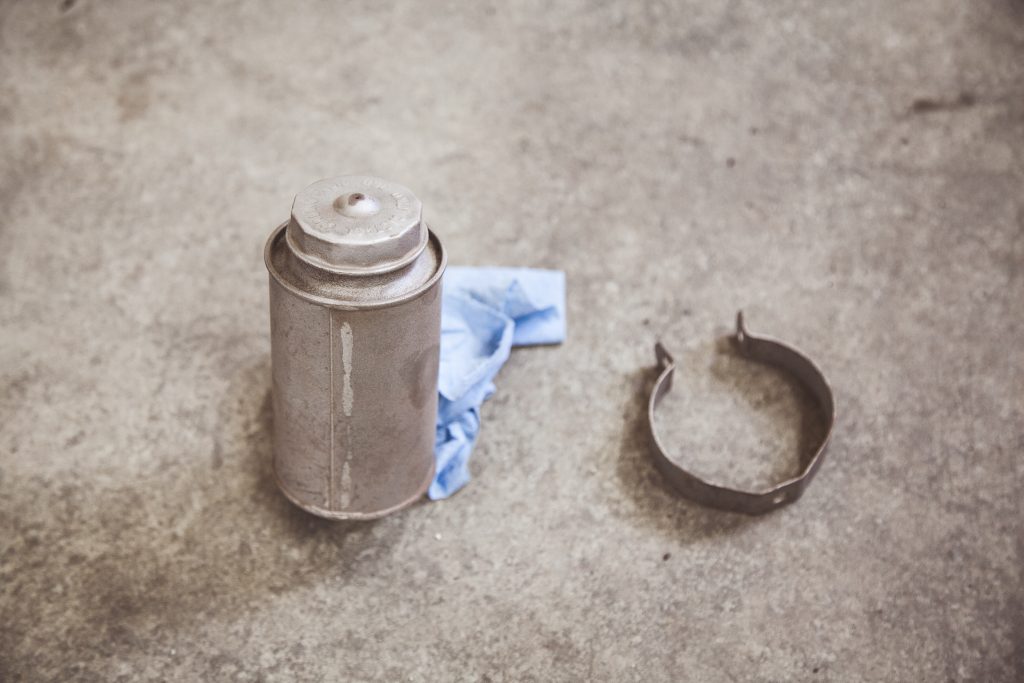
In the end, we decided to keep the original style reservoir and just relocate it instead of changing to the new style master cylinder. And by decided, we mean we tried to fit the Defender style master cylinder later on and it didn’t fit the repaired bulkhead due to an angle on the newly installed floor being slightly wonky.
Here you can see the repaired bulkhead after the metalwork was complete and before it heads off to Eco Finish Solutions in Burlington for sandblasting. We don’t have any photos from fitting the new floor pans because it took every clamp and hand in the shop just to hold it while measuring and spot welding them in place. Plus there was a lot of hammering, measuring again and again, and choice words. No one was in the mood to take photos.
The new pans are reinforced just like how they came from Land Rover but they have the added benefit of being galvanized now. The entire bottom half of the bulkhead is new metal including the Driver side footwell, the passenger side footwell, and a new single-piece center bulkhead assembly.
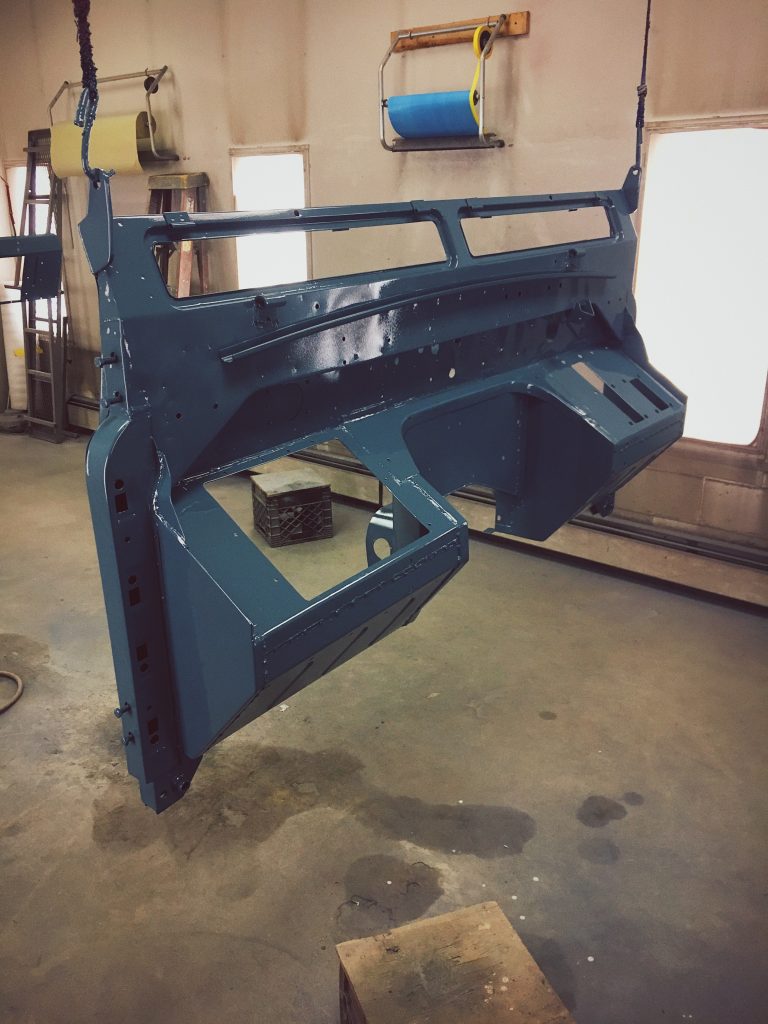
Yet again we were too excited to work on the Land Rover to remember to take photos but when the bulkhead came back from the sandblaster it was fully epoxy primed and looked almost brand new. After a few weekends of bodywork on the doorposts and trying to smooth out all the metalwork marks from fitting the new pans, it was finally time to put some new paint on the truck. In the end, we decided to keep the truck the original Marine Blue. The bulkhead was painted with a layer of epoxy primer, a few coats of filler primer, and then two coats of Nason single stage acrylic enamel paint.
Once the paint had cured for a few days, it was time to gently fit the freshly painted bulkhead to the rolling chassis. After taking a step back to admire the Land Rover, we started fitting all the refreshed and painted parts to the truck. You can now see the finished pedal boxes that we blasted earlier on in preparation for this moment.
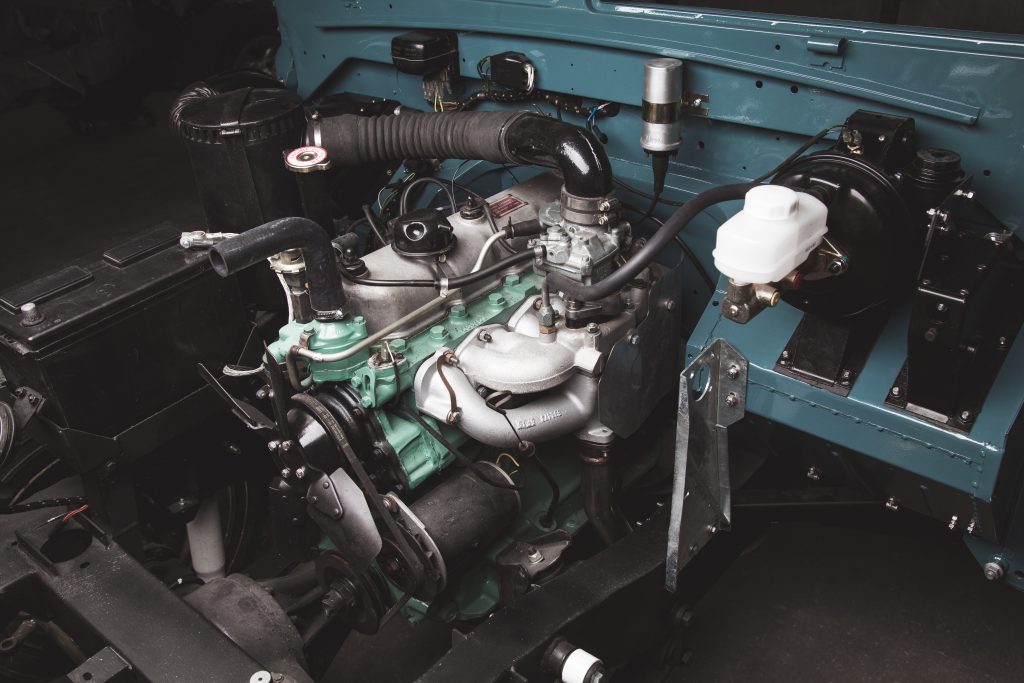
Also since the last update, you can see a few new bits and upgrades bolted to the engine. You may notice that the 2.25L motor is now sporting a PCV system, an often missing exhaust manifold heat shield, and a later Series III style ProLine heater control valve.
After media blasting and painting all the parts to go back on the bulkhead, the pitted but cleaned up bulkhead brackets really let down the beautiful bulkhead. So we opted to install a new galvanized driver side bracket and passenger bracket.
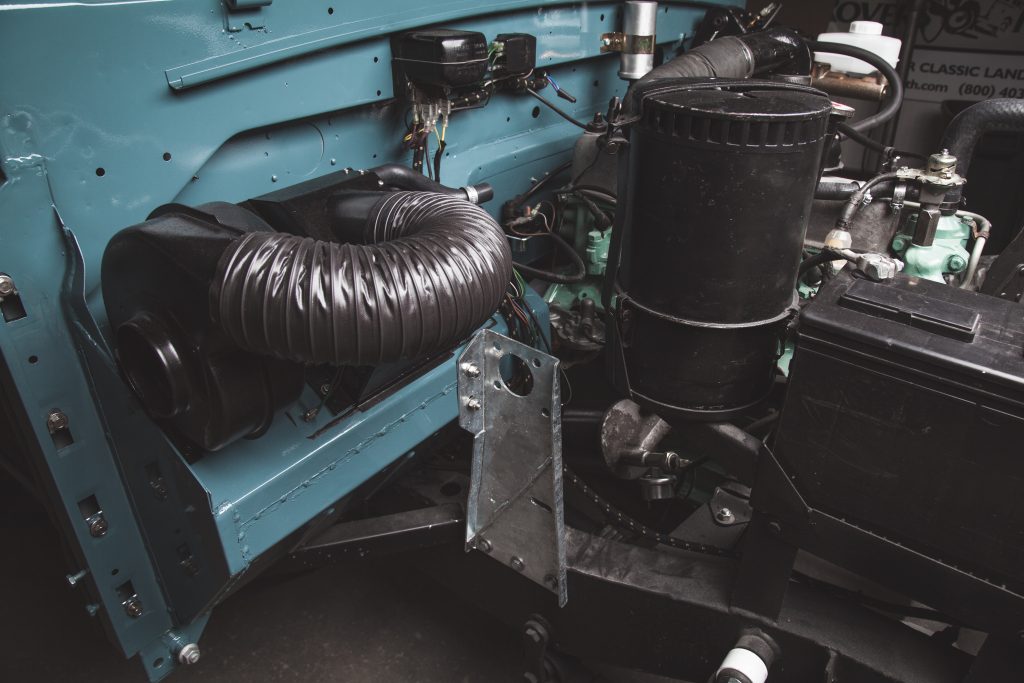
On the passenger side, you can see the repainted and installed smiths heater from earlier with a new genuine heater intake hose. If you look closely you can also catch a peak of the new cloth wrapped main engine and dynamo harness on the bulkhead.
All in all, we’ve made pretty good progress so far on the project Series 88″ over the long Vermont winter. We’re hoping to be driving the truck down to Muddy Chef in Manchester Vermont at the end of July this year. If we don’t quite make that deadline, we guarantee it will be at the British Invasion this fall. After we get the gas pedal and brake/clutch lines ran in the next few weeks we promise to update you with a video of us driving the Series around our backfield, sitting on top of a milk crate.
For more updates on the project follow the build on Instagram.
